The VP6600 contains two replaceable fans that are mounted within the heatsink on top of the unit. This article will go over the steps on how to replace these fans. The product page for the fans can be found here.
You will need a spare fan, a Phillips head screwdriver, a 10mm socket wrench, some spare thermal paste for the CPU (since we will need to temporarily remove the motherboard), and potentially some isopropyl alcohol.
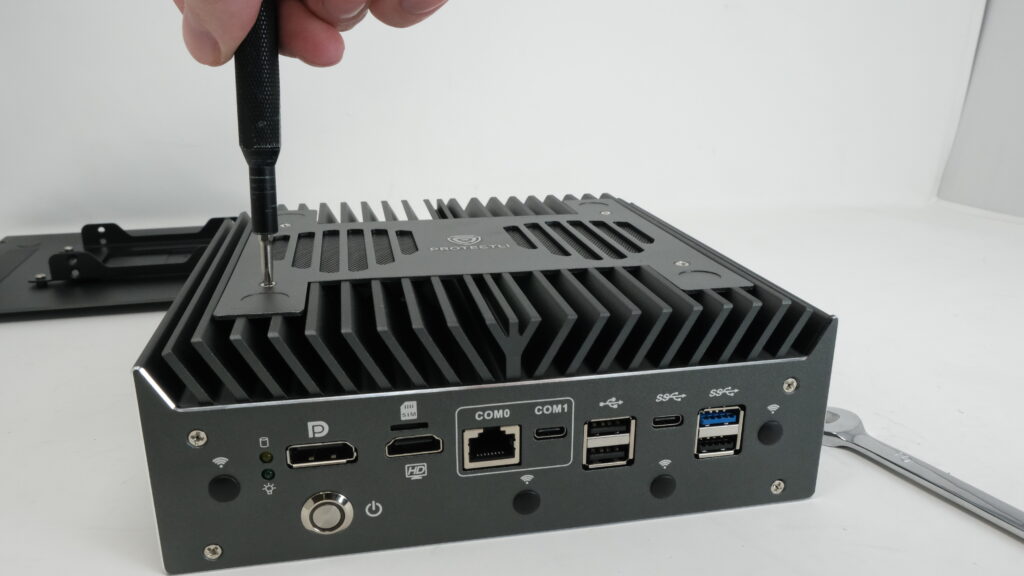
Removing Plates
Make sure your Vault is unplugged and is not powered on.
Make sure you are not staticly charged and please perform these instructions in an anti-static environment to prevent any potential damage to the unit.
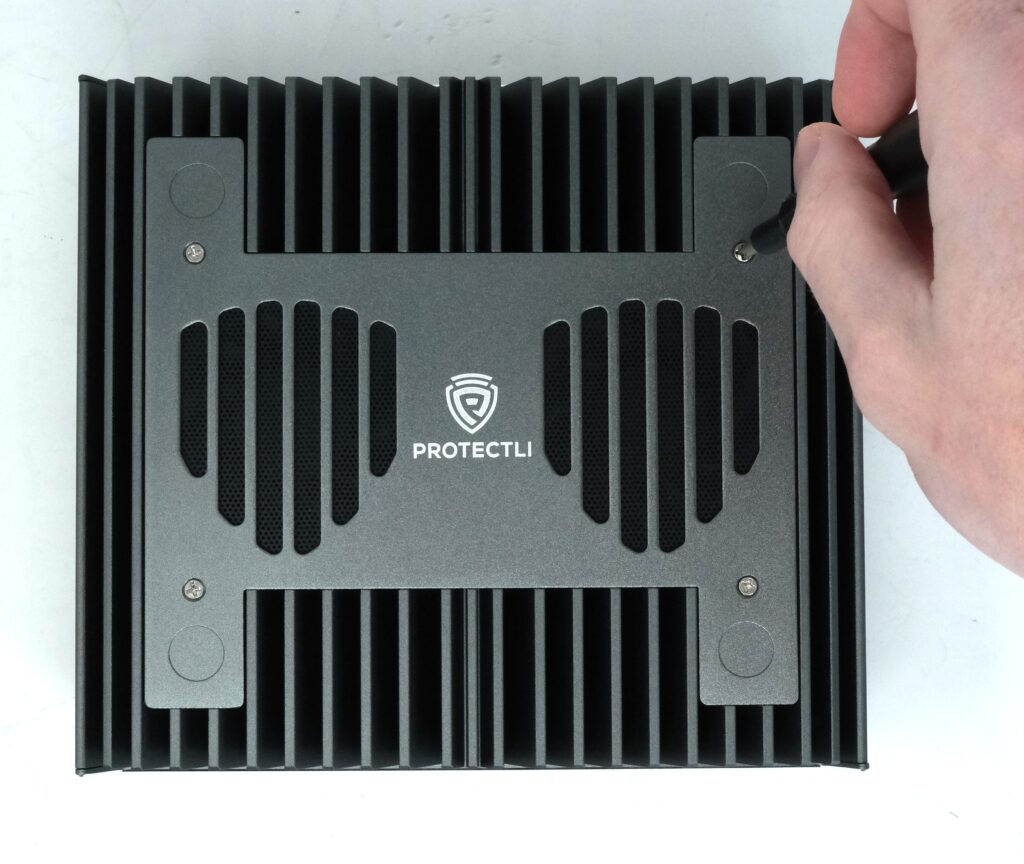
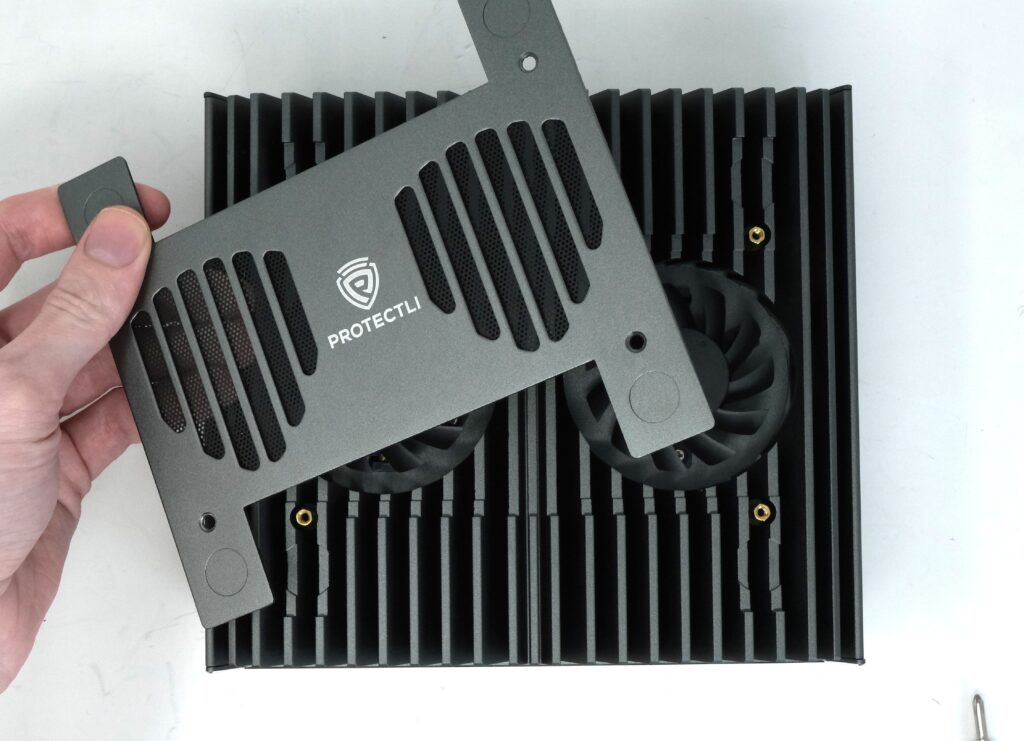
Place the unit so that the Protectli logo on the top of the unit is facing you, and remove the four screws that hold down the plate that covers the fans.
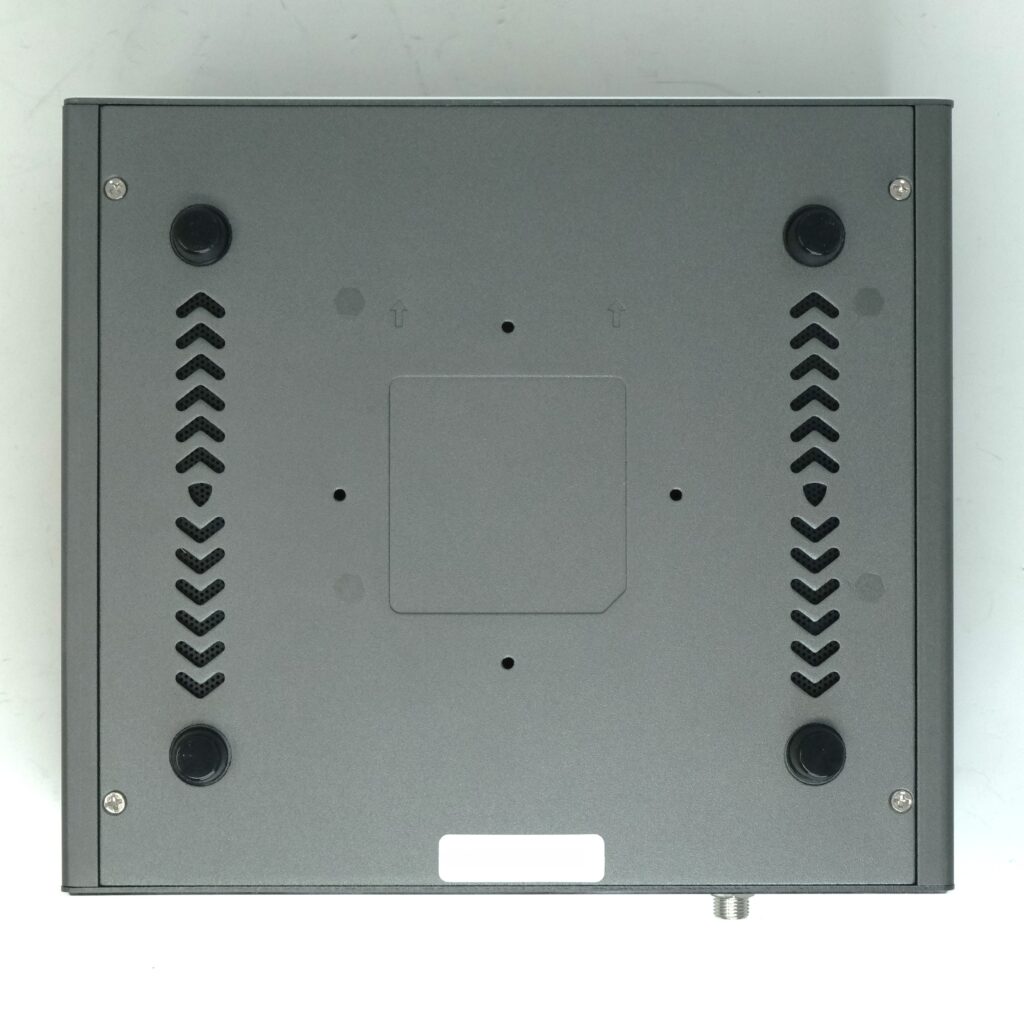
Flip the unit back around so that the bottom plate is visible, and remove the four screws found near the corners to remove the bottom plate.
Locating Fan Headers and Cables
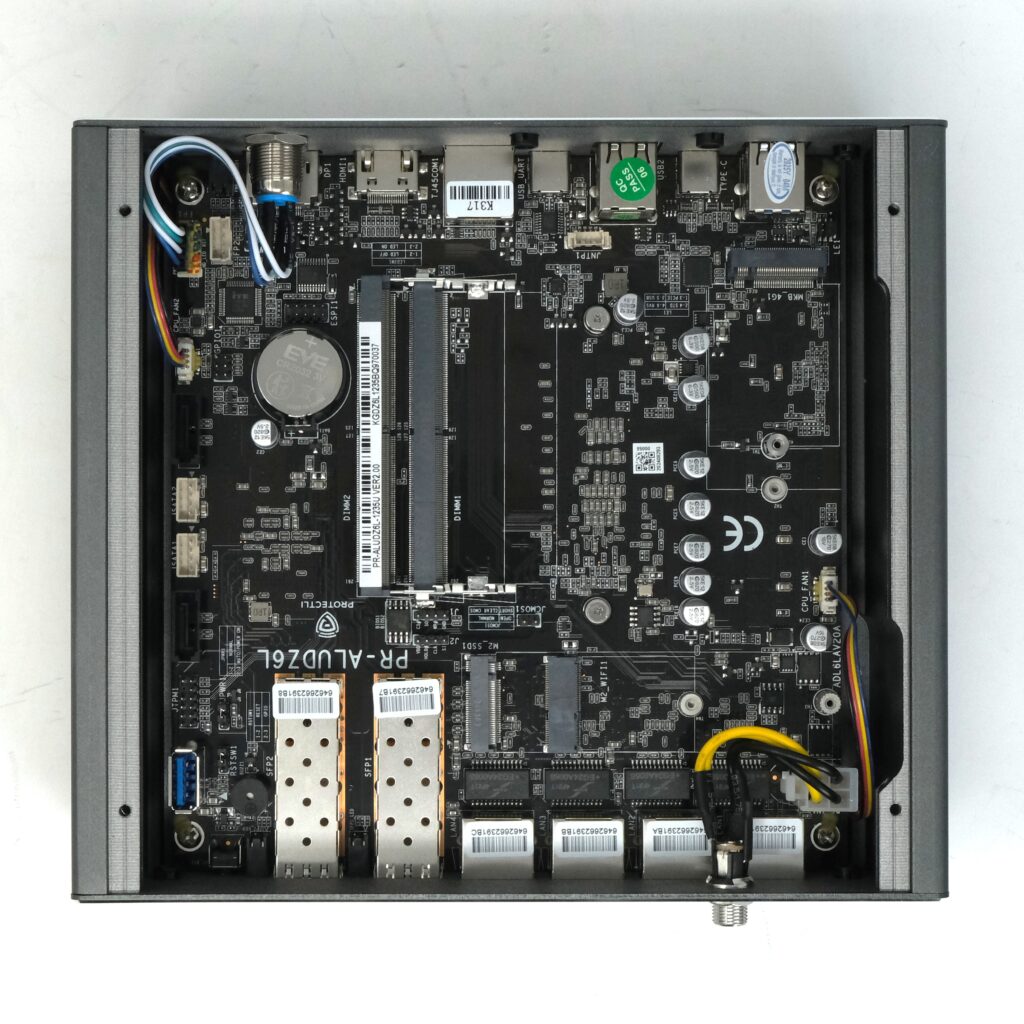
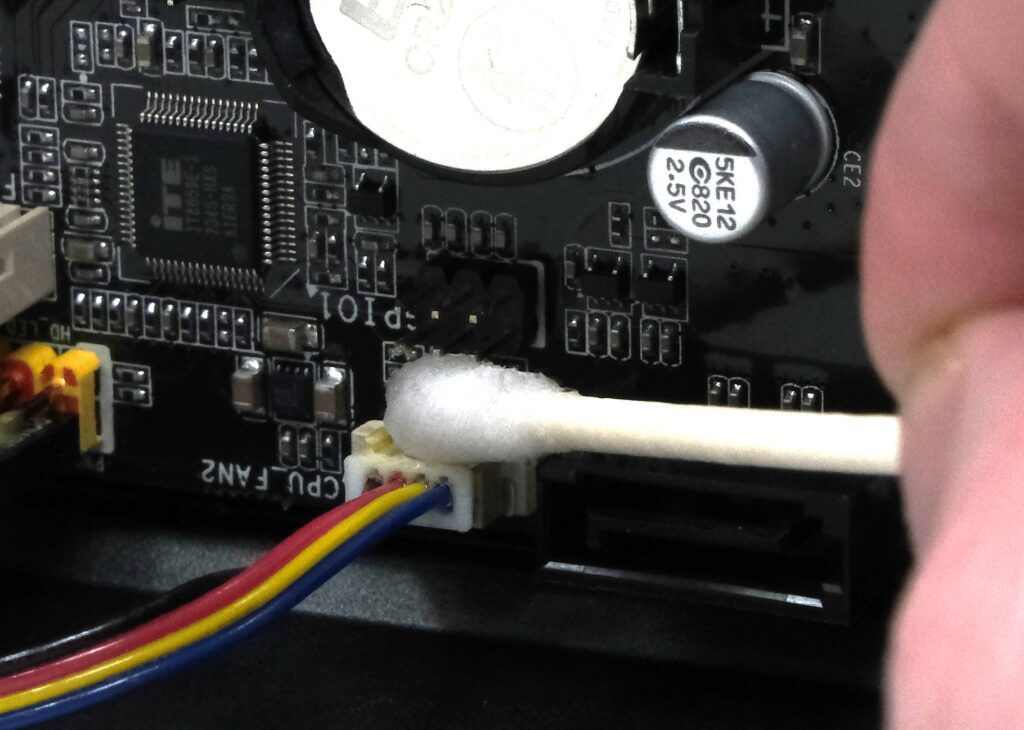
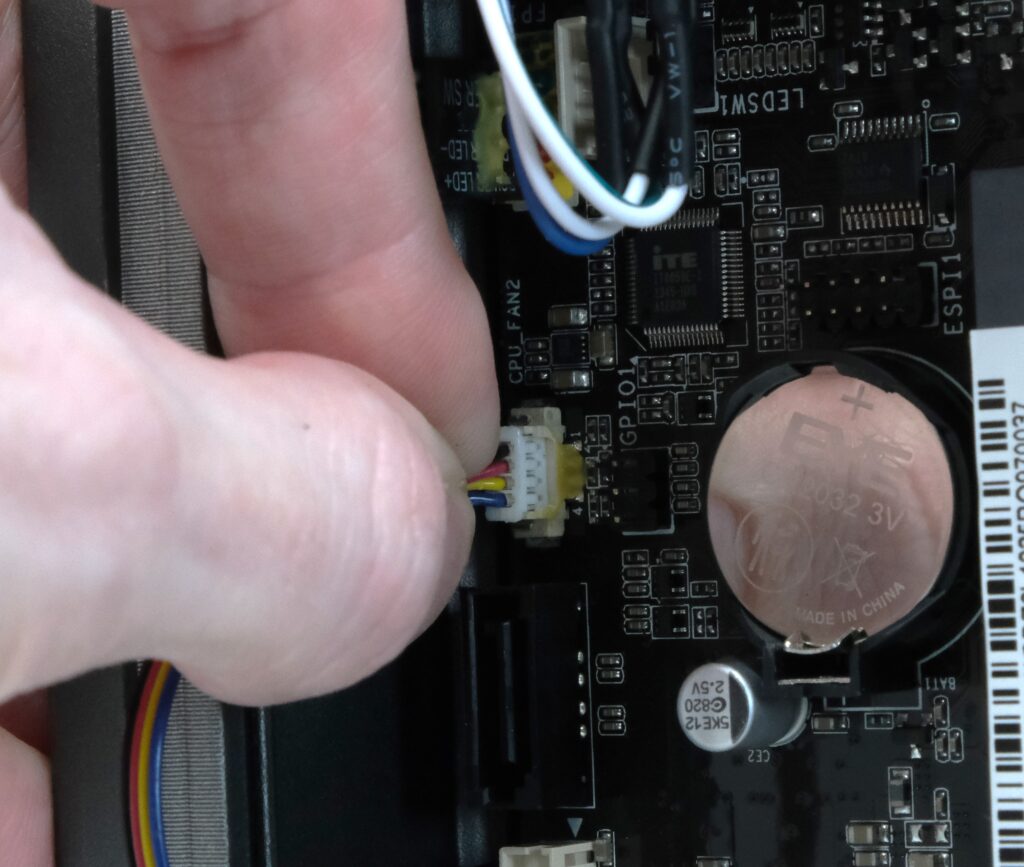
The fan cables connect to the headers labeled "CPU_FAN" on the motherboard. They are a four-pin PicoBlade-compatible header (1.25mm pitch)rand may be glued down with a light adhesive.
This adhesive glue is not very strong, but you may need to use isopropyl alcohol to weaken the substance before removing the cable. An example of using isopropyl alcohol as well as an example of not using it can be seen below.
Using Isopropyl Alcohol
Apply a conservative amount of alcohol on an applicator medium of your choice, we used a cotton swab. Apply the alcohol to the glue, and wait at least 30 seconds for it to sit.
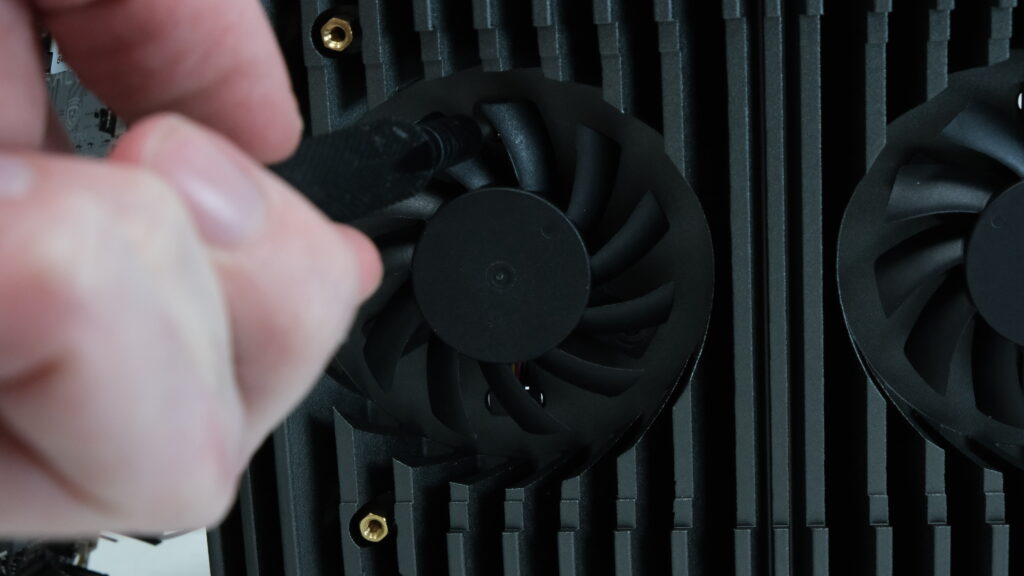
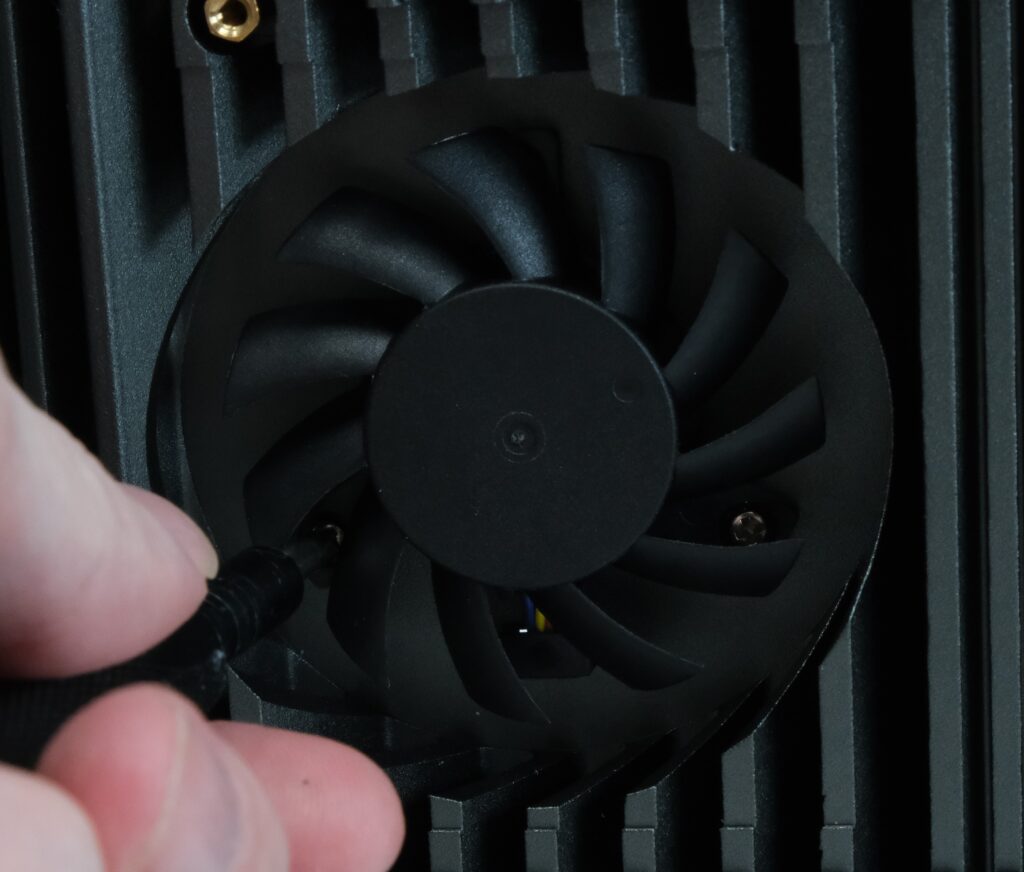
Carefully pull the cable out of the header, you can firmly grip it and gently wiggle the connection as you pull back. There are no clamps. Watch the video below for an example:
Not Using Isopropyl Alcohol
The glue is generally not very strong and you may be able to remove the cable without using alcohol. You should be careful, but you can firmly grasp the cable and gently wiggle the connection as you pull to detach it (as seen in the video below):
Preparing To Remove Motherboard
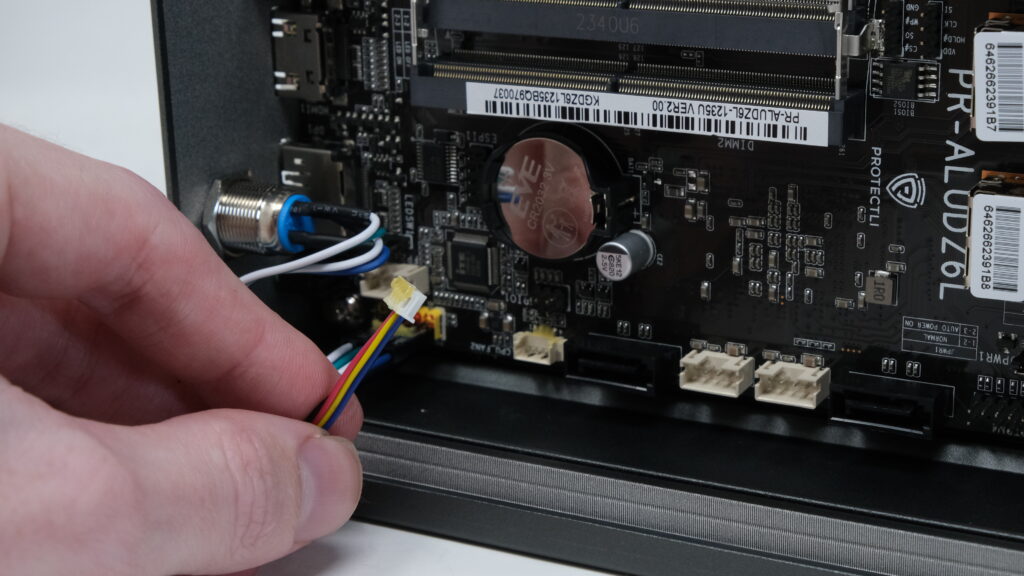
Although the cable has been detached from the header, you will need to temporarily remove the motherboard to route the cable out.
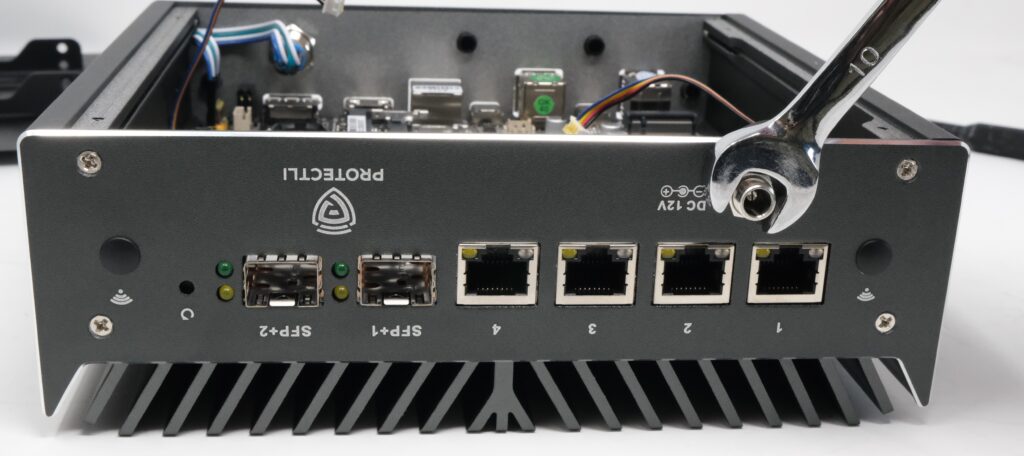
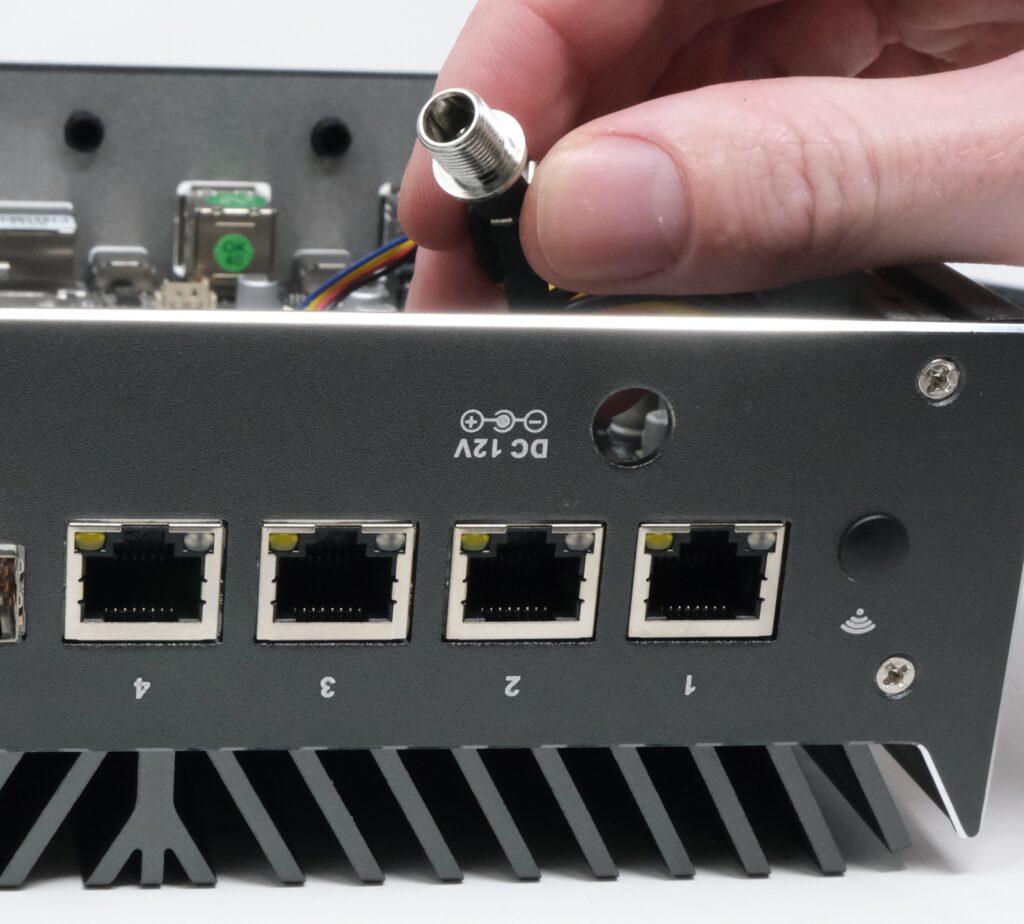
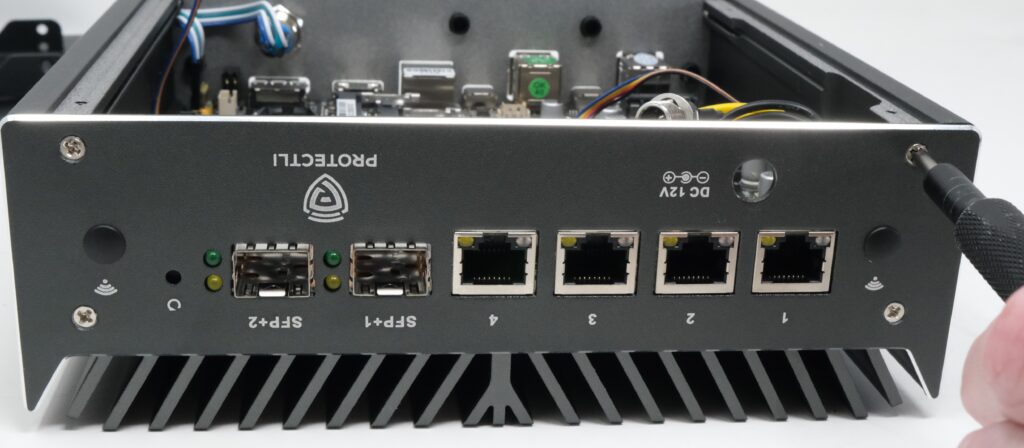
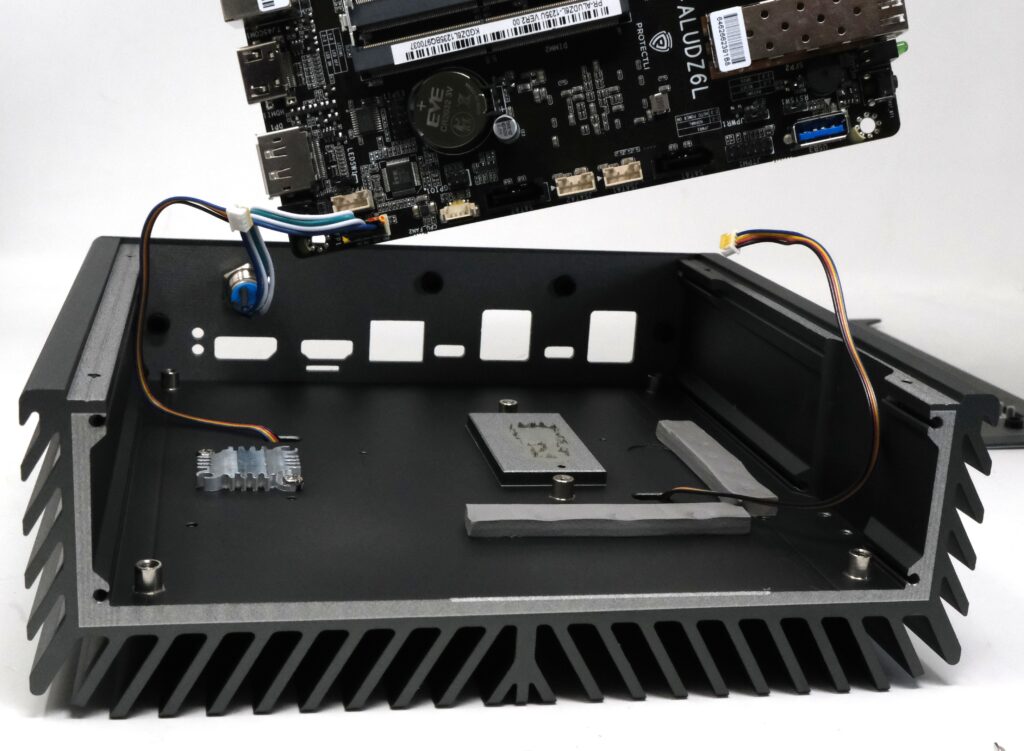
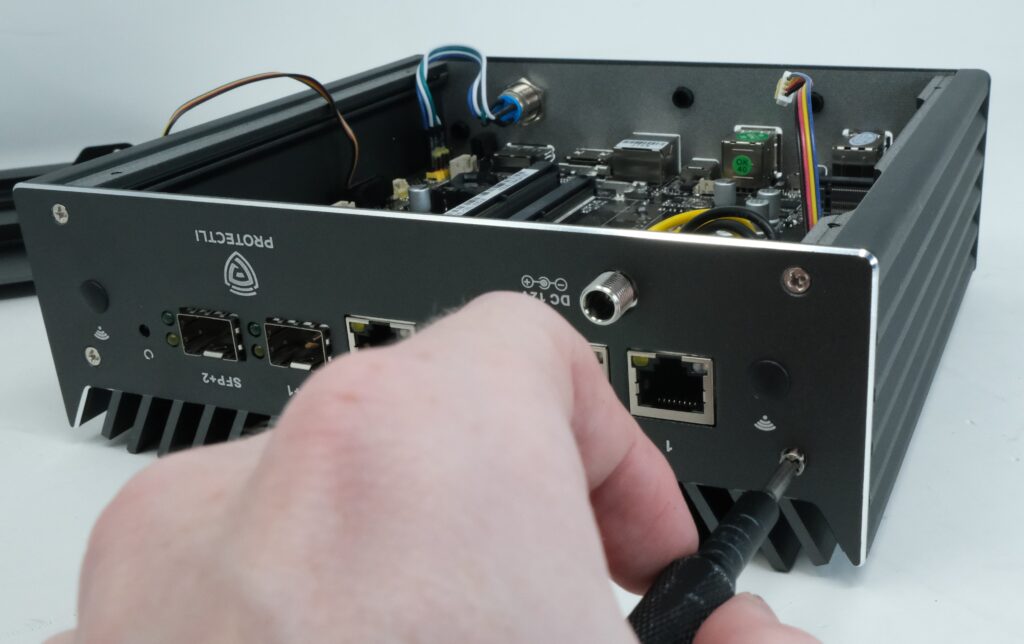
Place the Vault in the orientation seen below:
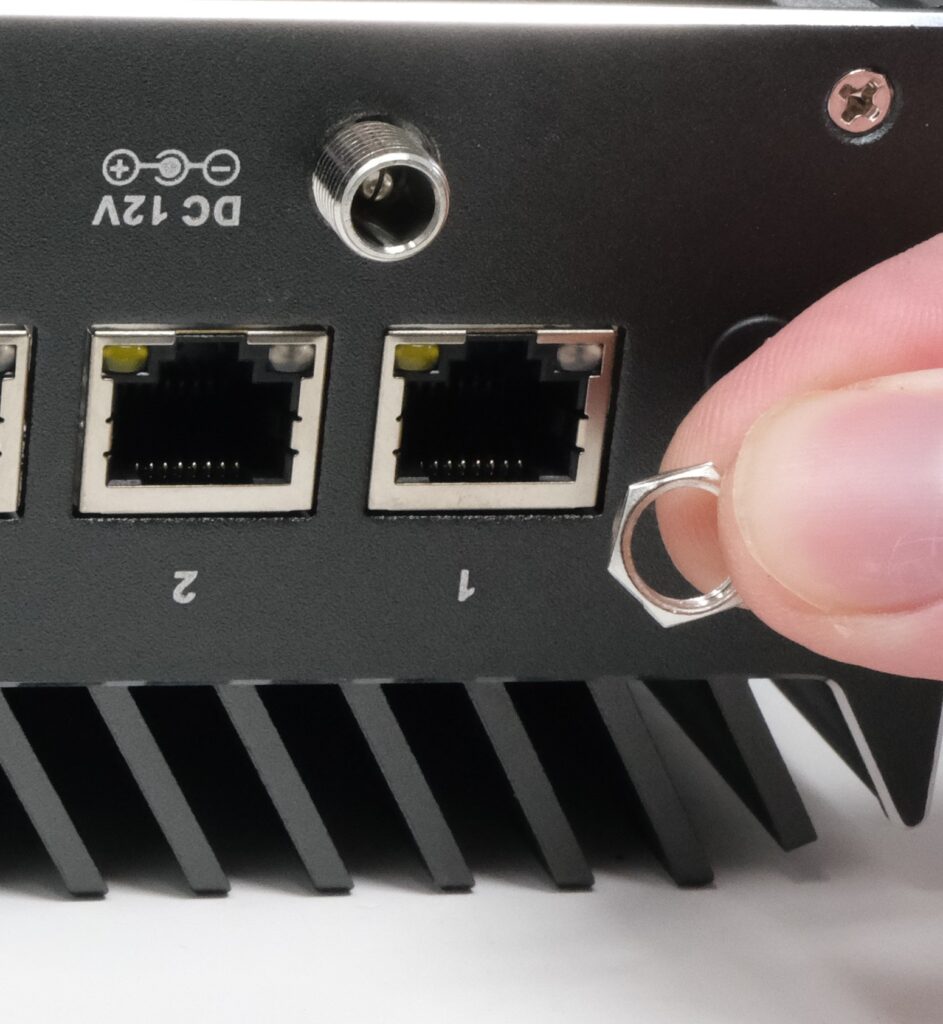
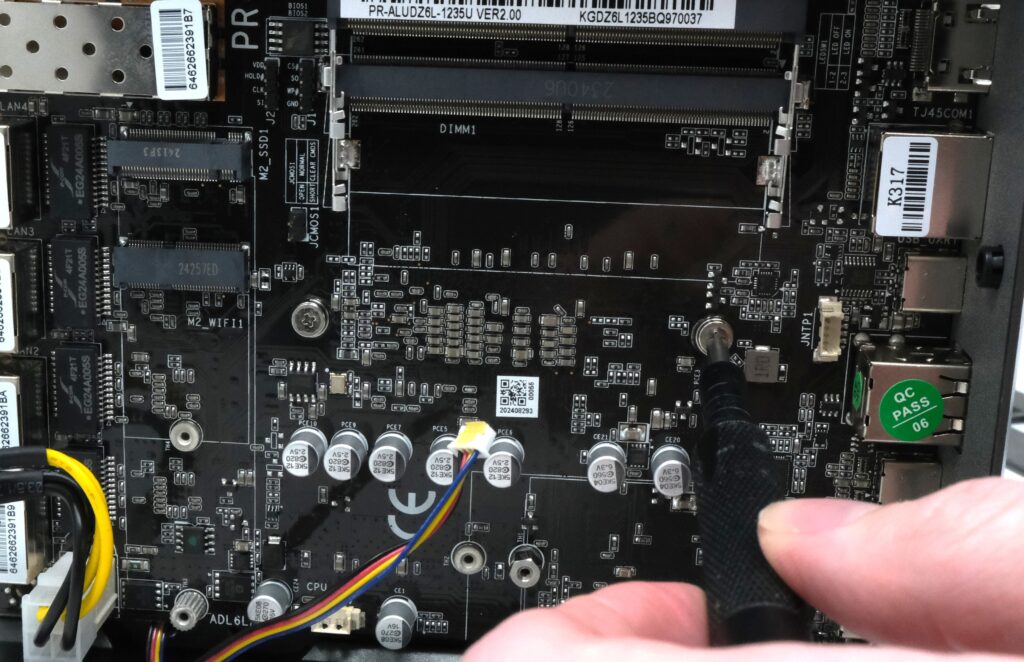
Remove the nut around the DC power connector with a 10mm wrench, and unscrew the 4 screws around the corners to remove this faceplate.
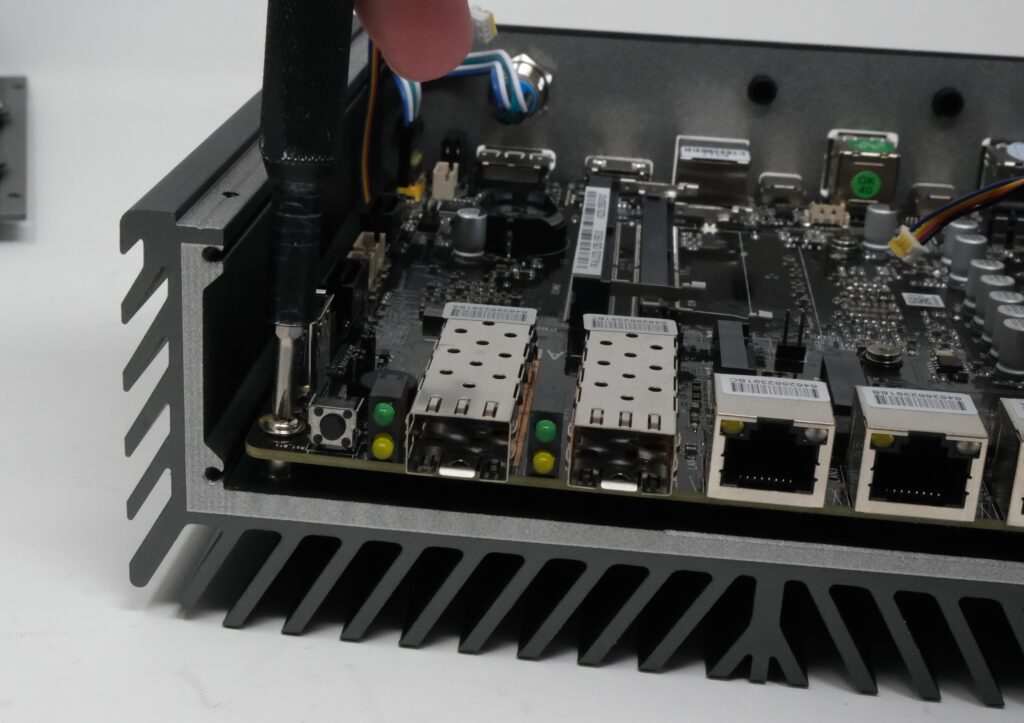
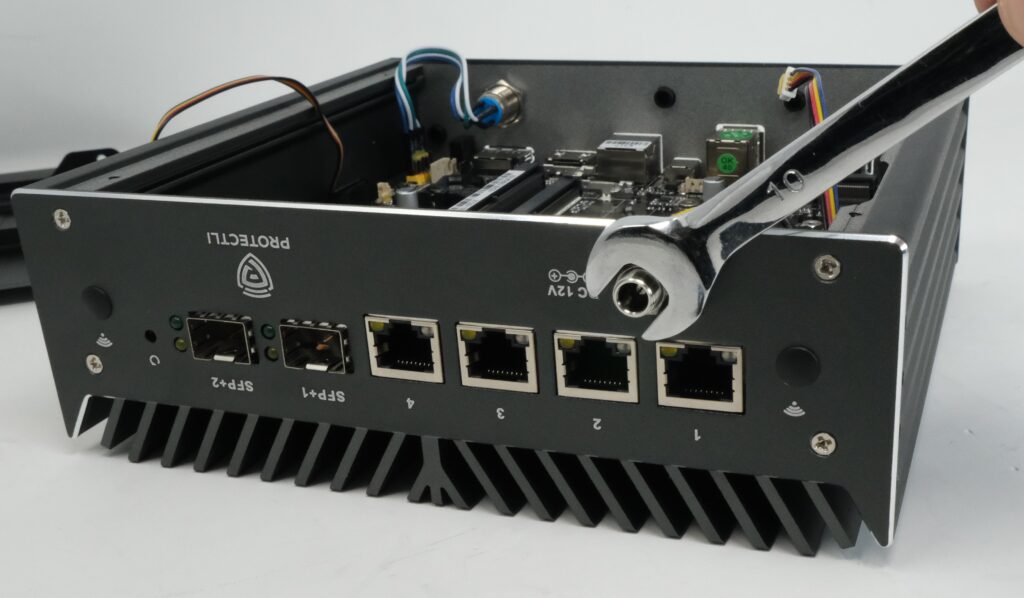
Unscrewing Motherboard
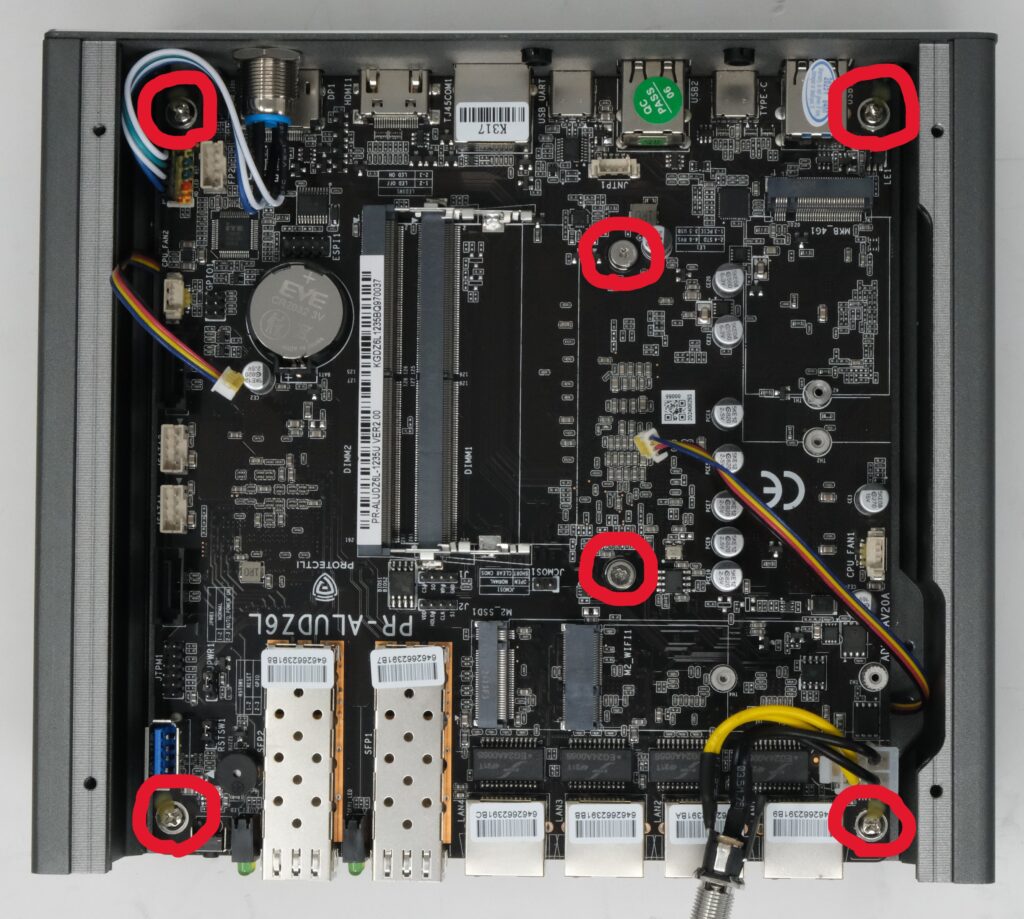
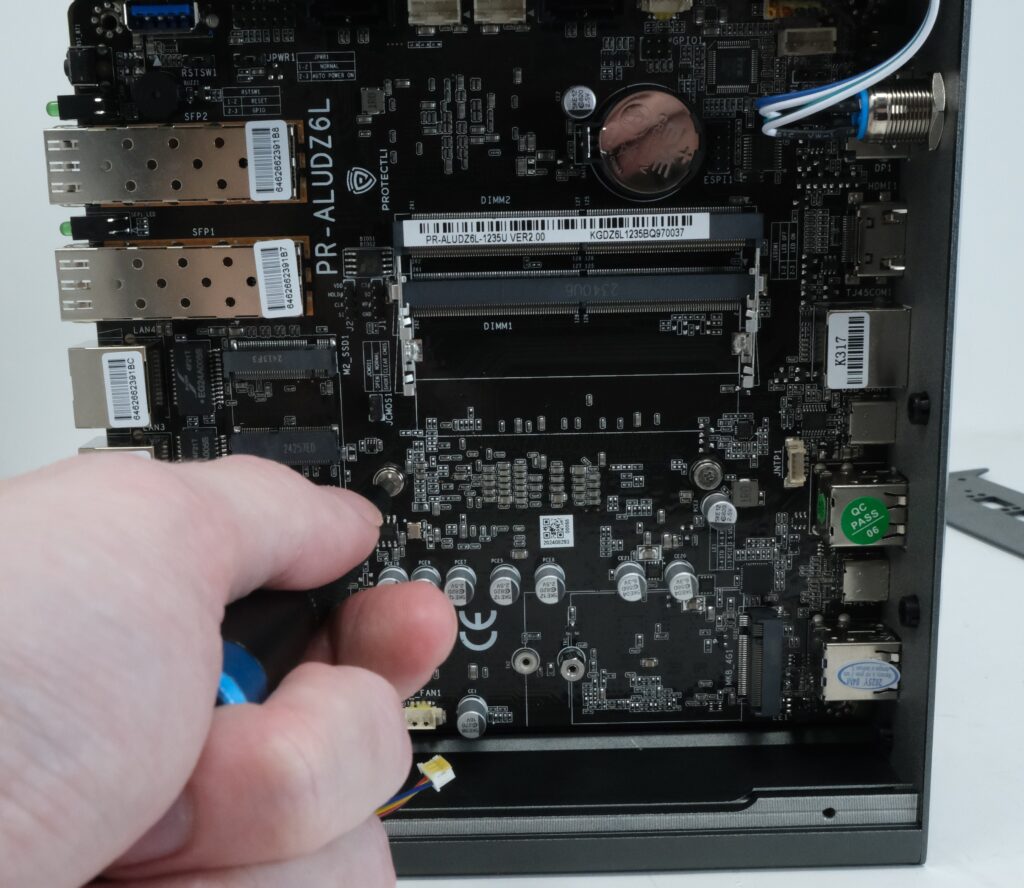
Unscrew the screws outlined in the image below:
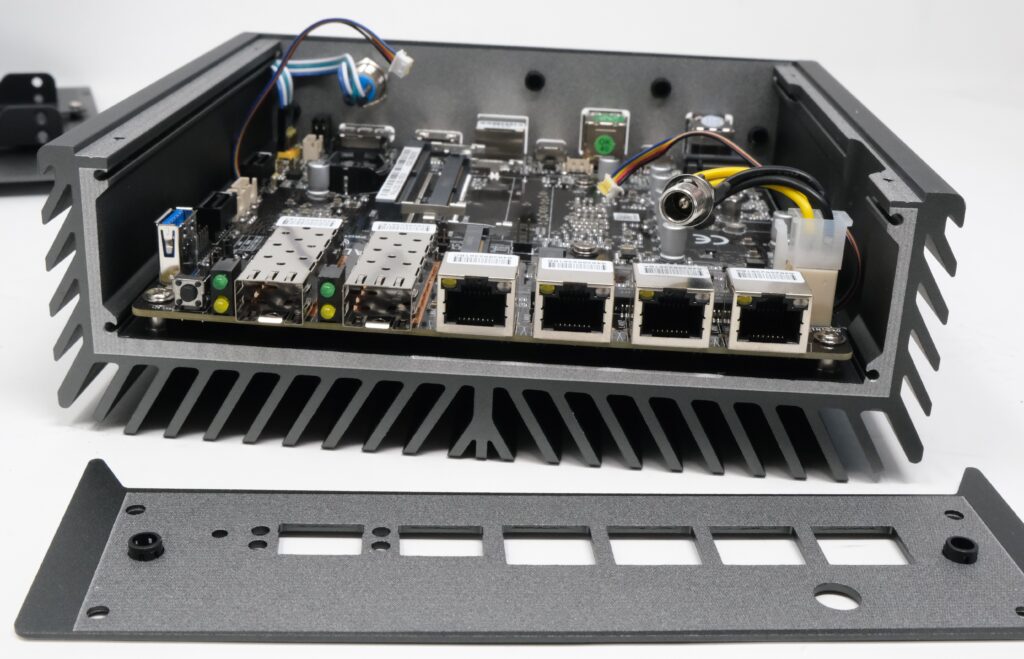
Pulling Off Motherboard
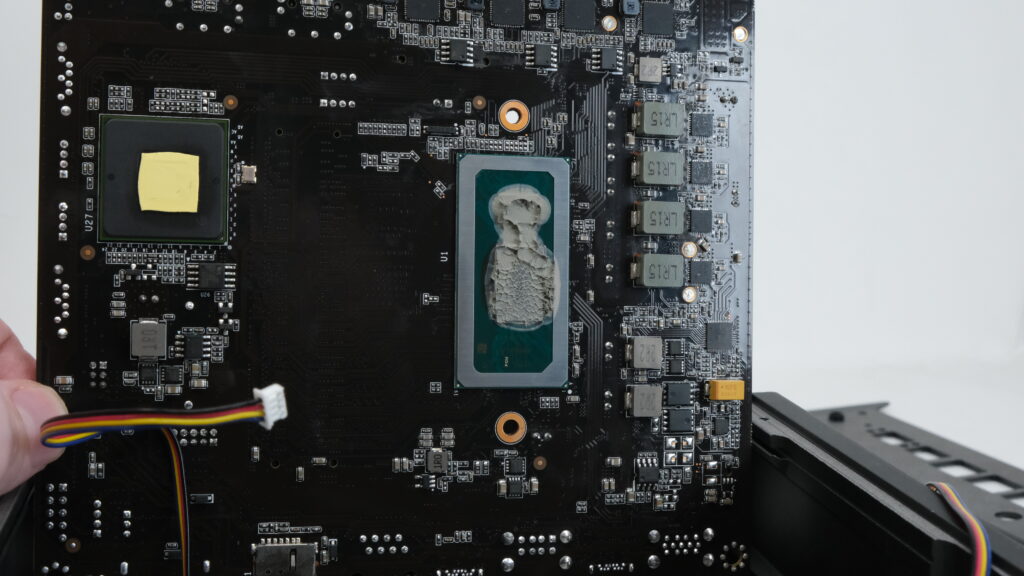
Carefully pull the board up and towards you. Keep in mind the power button is still connected to the front panel header, so you will temporarily place the motherboard to the side. There is thermal paste on the CPU that may make it feel as if the motherboard is firmly attached, but you should be able to pull it off without issue.
Removing and Replacing Fans
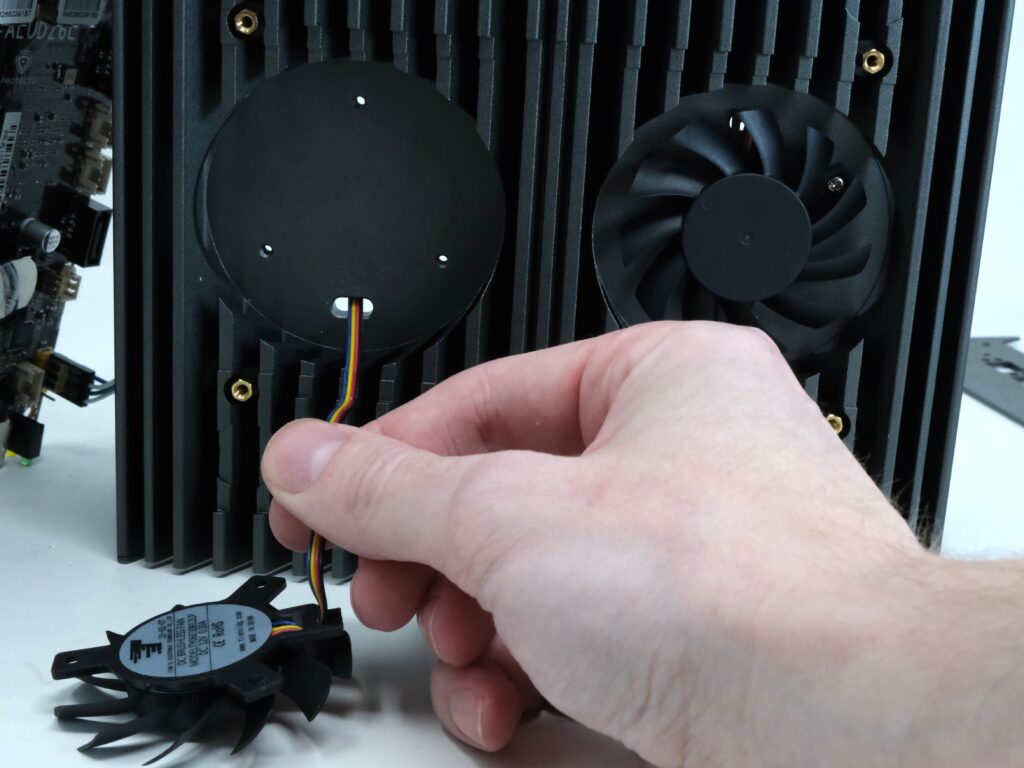
Keep the motherboard in a safe spot to the side while flipping the chassis to the fan side. Unscrew the fan (there are three screws) and pull the cable through the hole.
Take the replacement fan and route the cable through the same hole you just removed the old fan from. Screw the fan into place.
Preparing To Reattach the Motherboard
On the bottom of the motherboard you can see the CPU with thermal paste on it. Since you removed the motherboard, it is generally a good idea to reapply thermal paste to the CPU. You can remove the existing thermal paste by using isopropyl alcohol, and then add new thermal paste on the CPU. Use a conservative amount so that the CPU is covered, but not so much that the thermal paste could spread to other parts of the board when reattached to the chassis.
Reattaching Motherboard
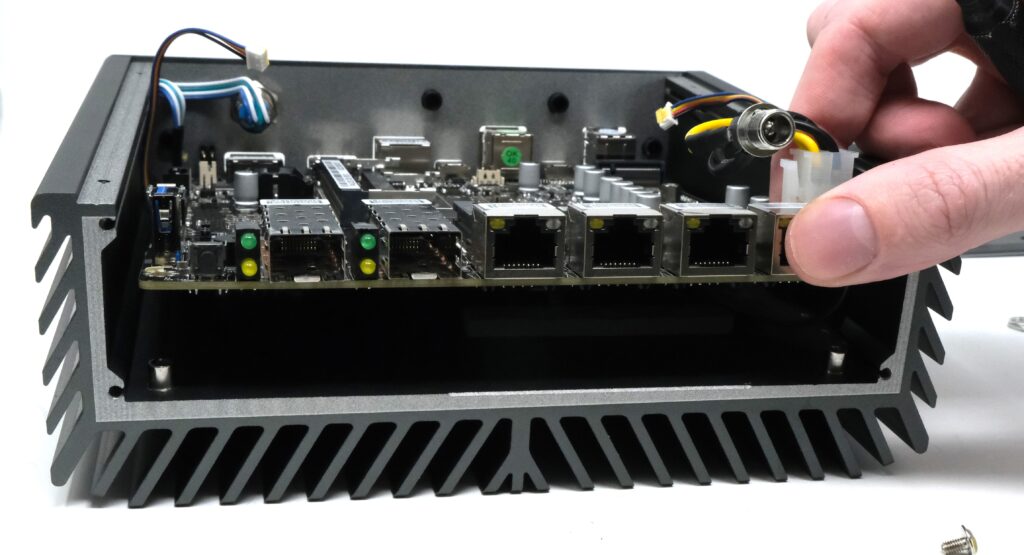
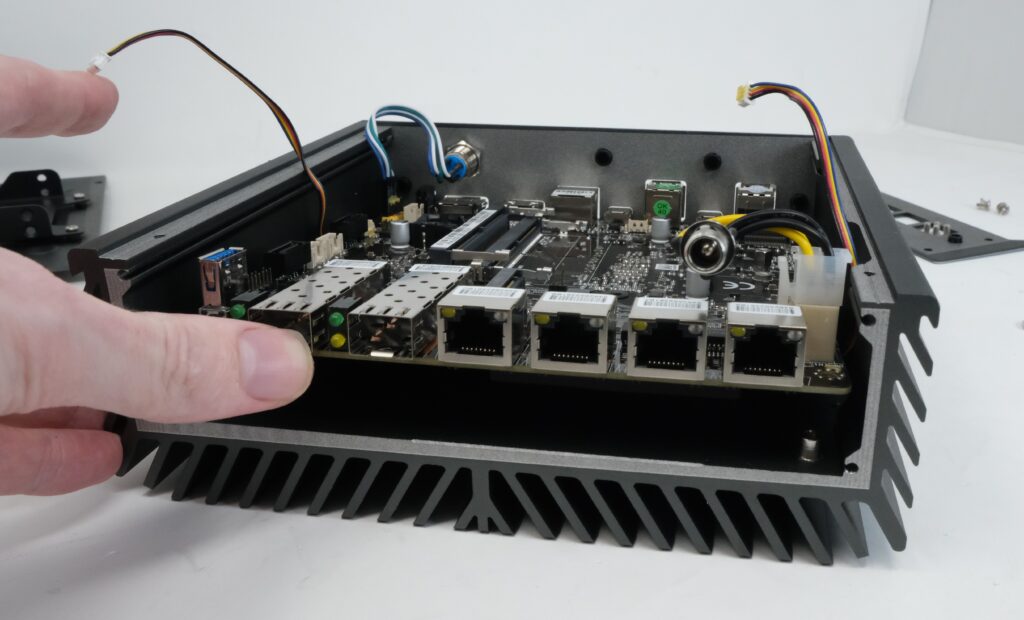
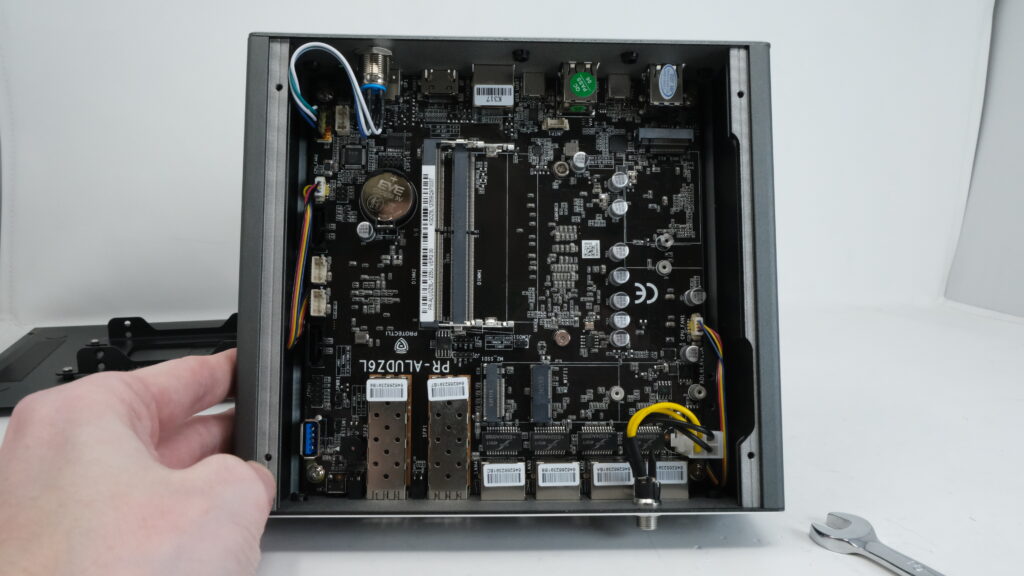
When you put the motherboard back on, make sure the fan cables are routed around the board so you can reconnect them to the headers. One of the easiest ways to properly align the board is to start by inserting the USB ports/HDMI/etc in their designated slot on the faceplate. (Seen in image below)
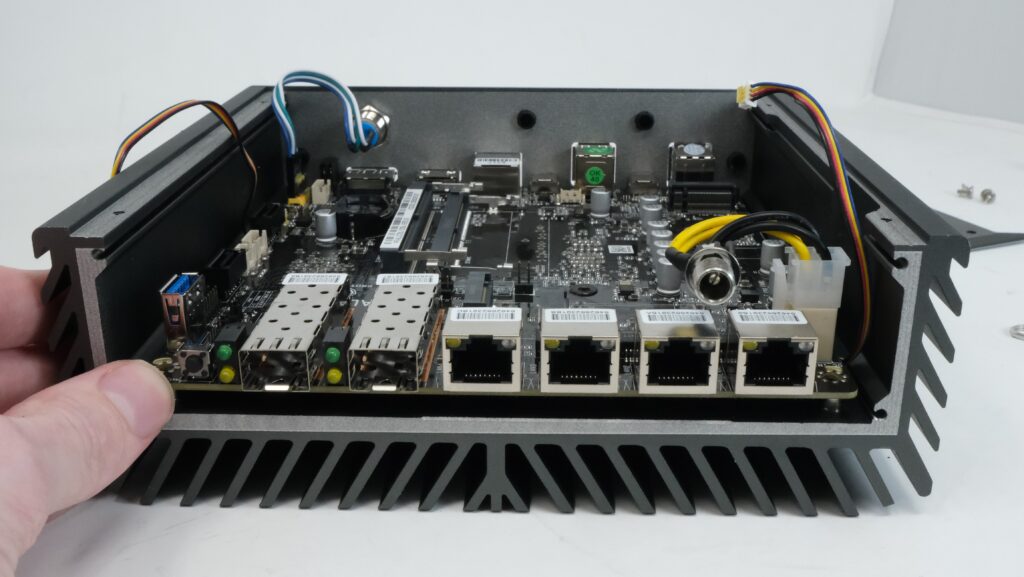
Gently place the board down and make sure it lines up with the screw holes on the corners.
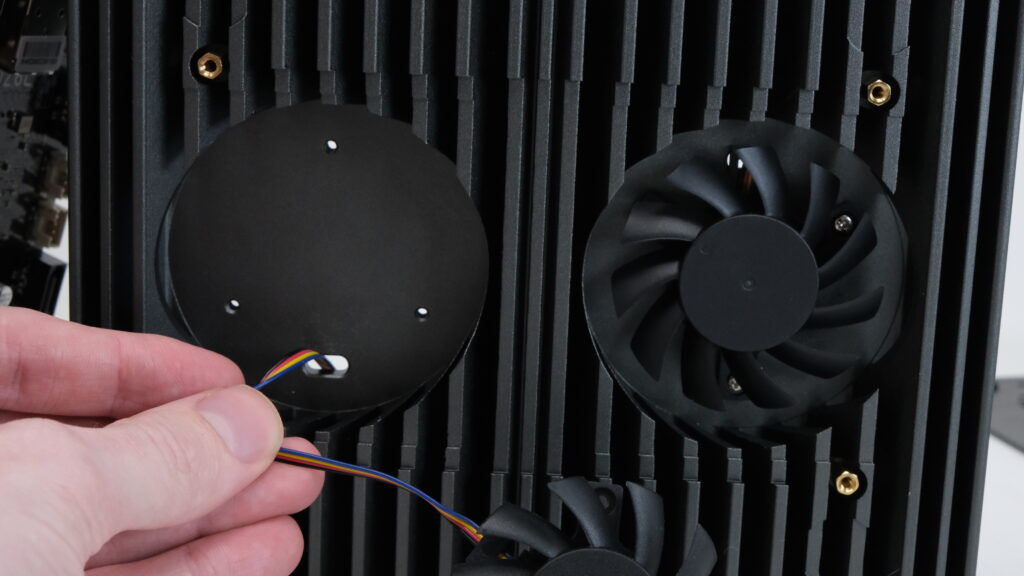
You should now begin to screw the motherboard back in, start reattaching the faceplate, and attaching the fan cables to the headers.
Connect the fan cables!
You may want to move the cables around so they are in a location that does not affect any other connectors or so it doesn't get in the way of installed components.
Reattach the fan plate cover.
Conclusion
This will not void your warranty! Please do not worry.