Have a Question?
Protectli Vault 3D Models and 3D Printable Items
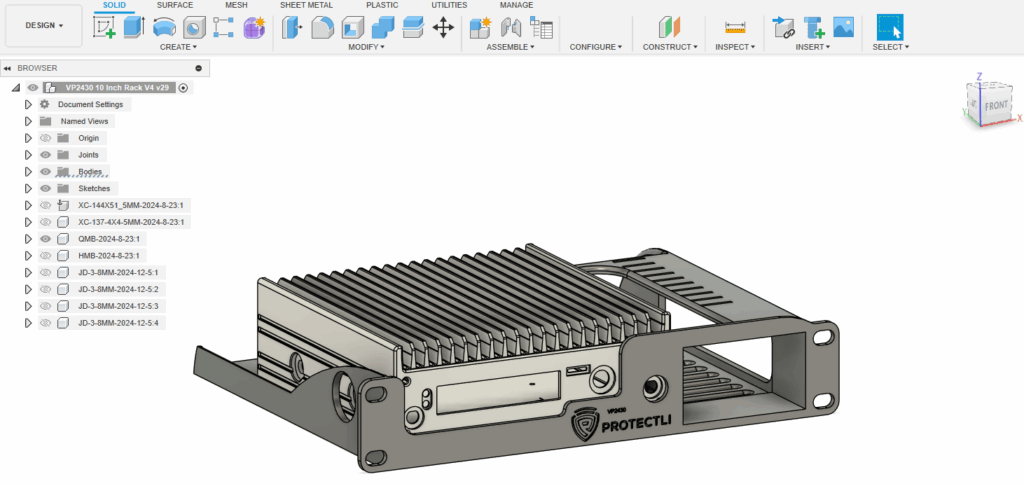
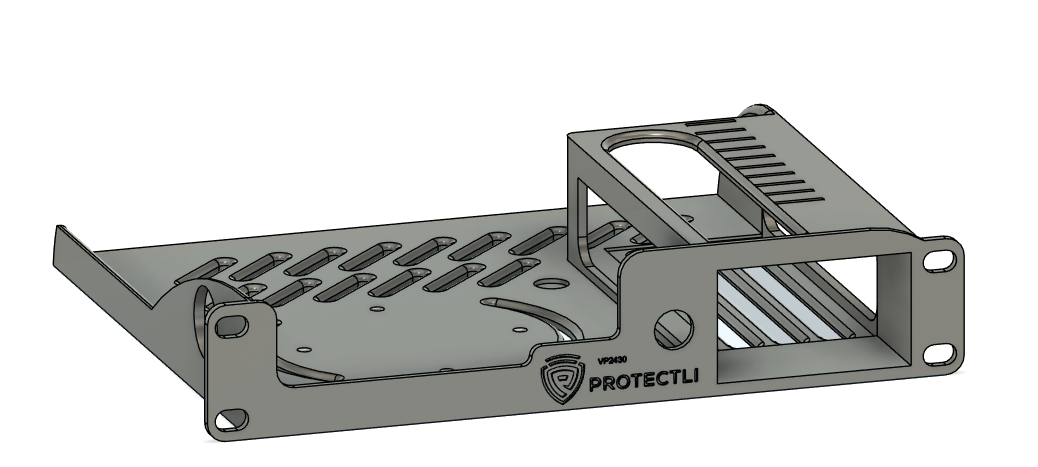
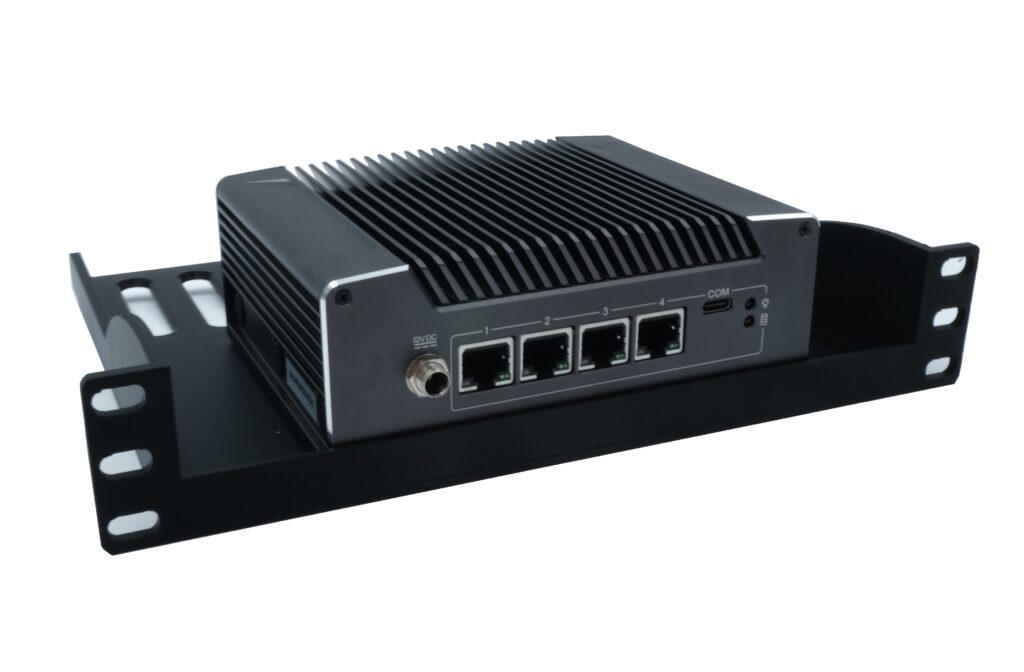
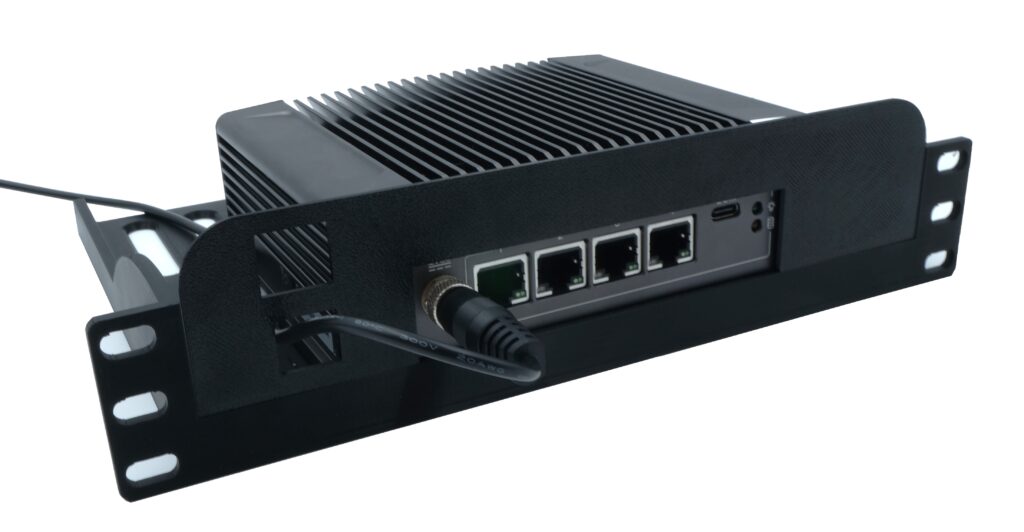
Fits the VP2430 perfectly, designated holes for the rubber feet will keep the device securely in-place. Screw hole locations can be used to screw the VP2430 into the rack via the VESA mount holes on the bottom of the unit. Power supply can fit snuggly in the housing to the right of the unit. Peripherals can be place on top of the power supply housing, such as a PiKVM. Notches can be printed out to securely hold peripherals. The notch slots are 10mm apart, and the insertable notches have varying sizes to support specific lengths. This design is made for the Ethernet side to be facing outwards. Not ideal for WiFi/Modem antennas, but there are cutouts to allow for the installation of them. When the VP2430 is installed in the rack, it will realistically take up an entire 1U + ~14mm.
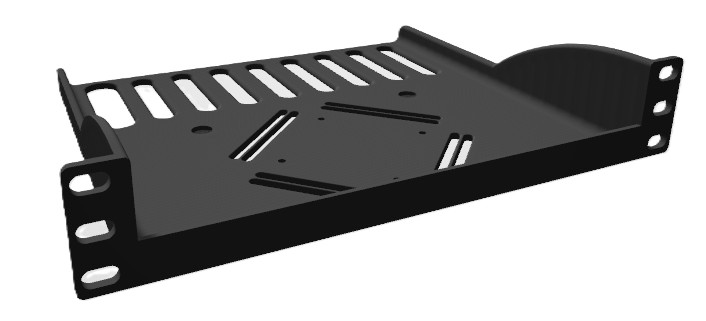
Designed specifically for the V1410. Recessed circles on the design allow the rubber legs of the unit to firmly lock in place, four screw holes are present to screw the unit into the rack via the VESA mounting area.
An optional front plate can be installed to cover up the front while allowing the power supply to route through.
This design was created and shared to us by a Protectli customer, Andrew Plaza. His Github can be found here: https://github.com/insipx
For a direct link to his Printables page, please go to this link: https://www.printables.com/model/1532329-protectli-vp2440-10-rack-mount-15u1u
This design is made to work with the fan offered from us here.
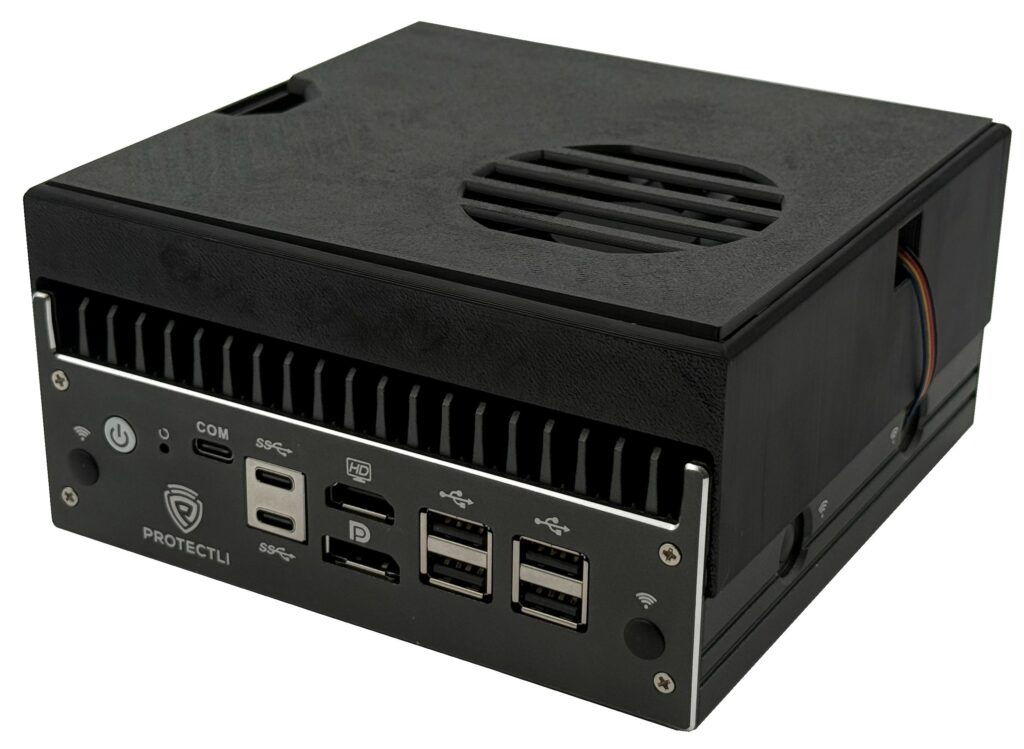
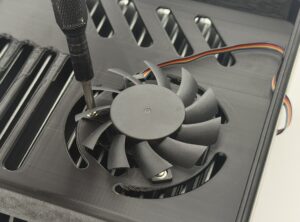
The housing for the fan locks into place on the VP2430's chassis thanks to the recessed lines on the side of the unit. The fan connects to the motherboard's fan header, and the cable routes through one of the antenna holes on the side of the unit. The fan can be screwed into the designated location (M.2 screws work well), which is effectively right above where the VP2430's CPU is located. Additional slots on the fan housing should help with passing air more effectively. Be wary of what material you use when printing this out, because the entire design could potentially shrink when exposed to high heat levels over time.
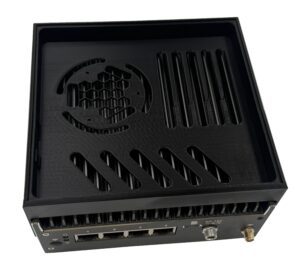
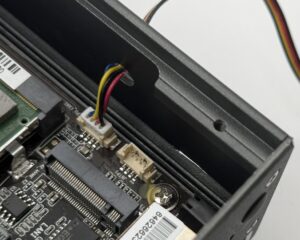
To push the cable through the hole, you will need to push the connector end at an angle and slightly bend the cables. The connector's long side won't fit by pushing in, it must be pushed in from the shorter side.