Have a Question?
How to install XCP-ng on the Vault
Overview
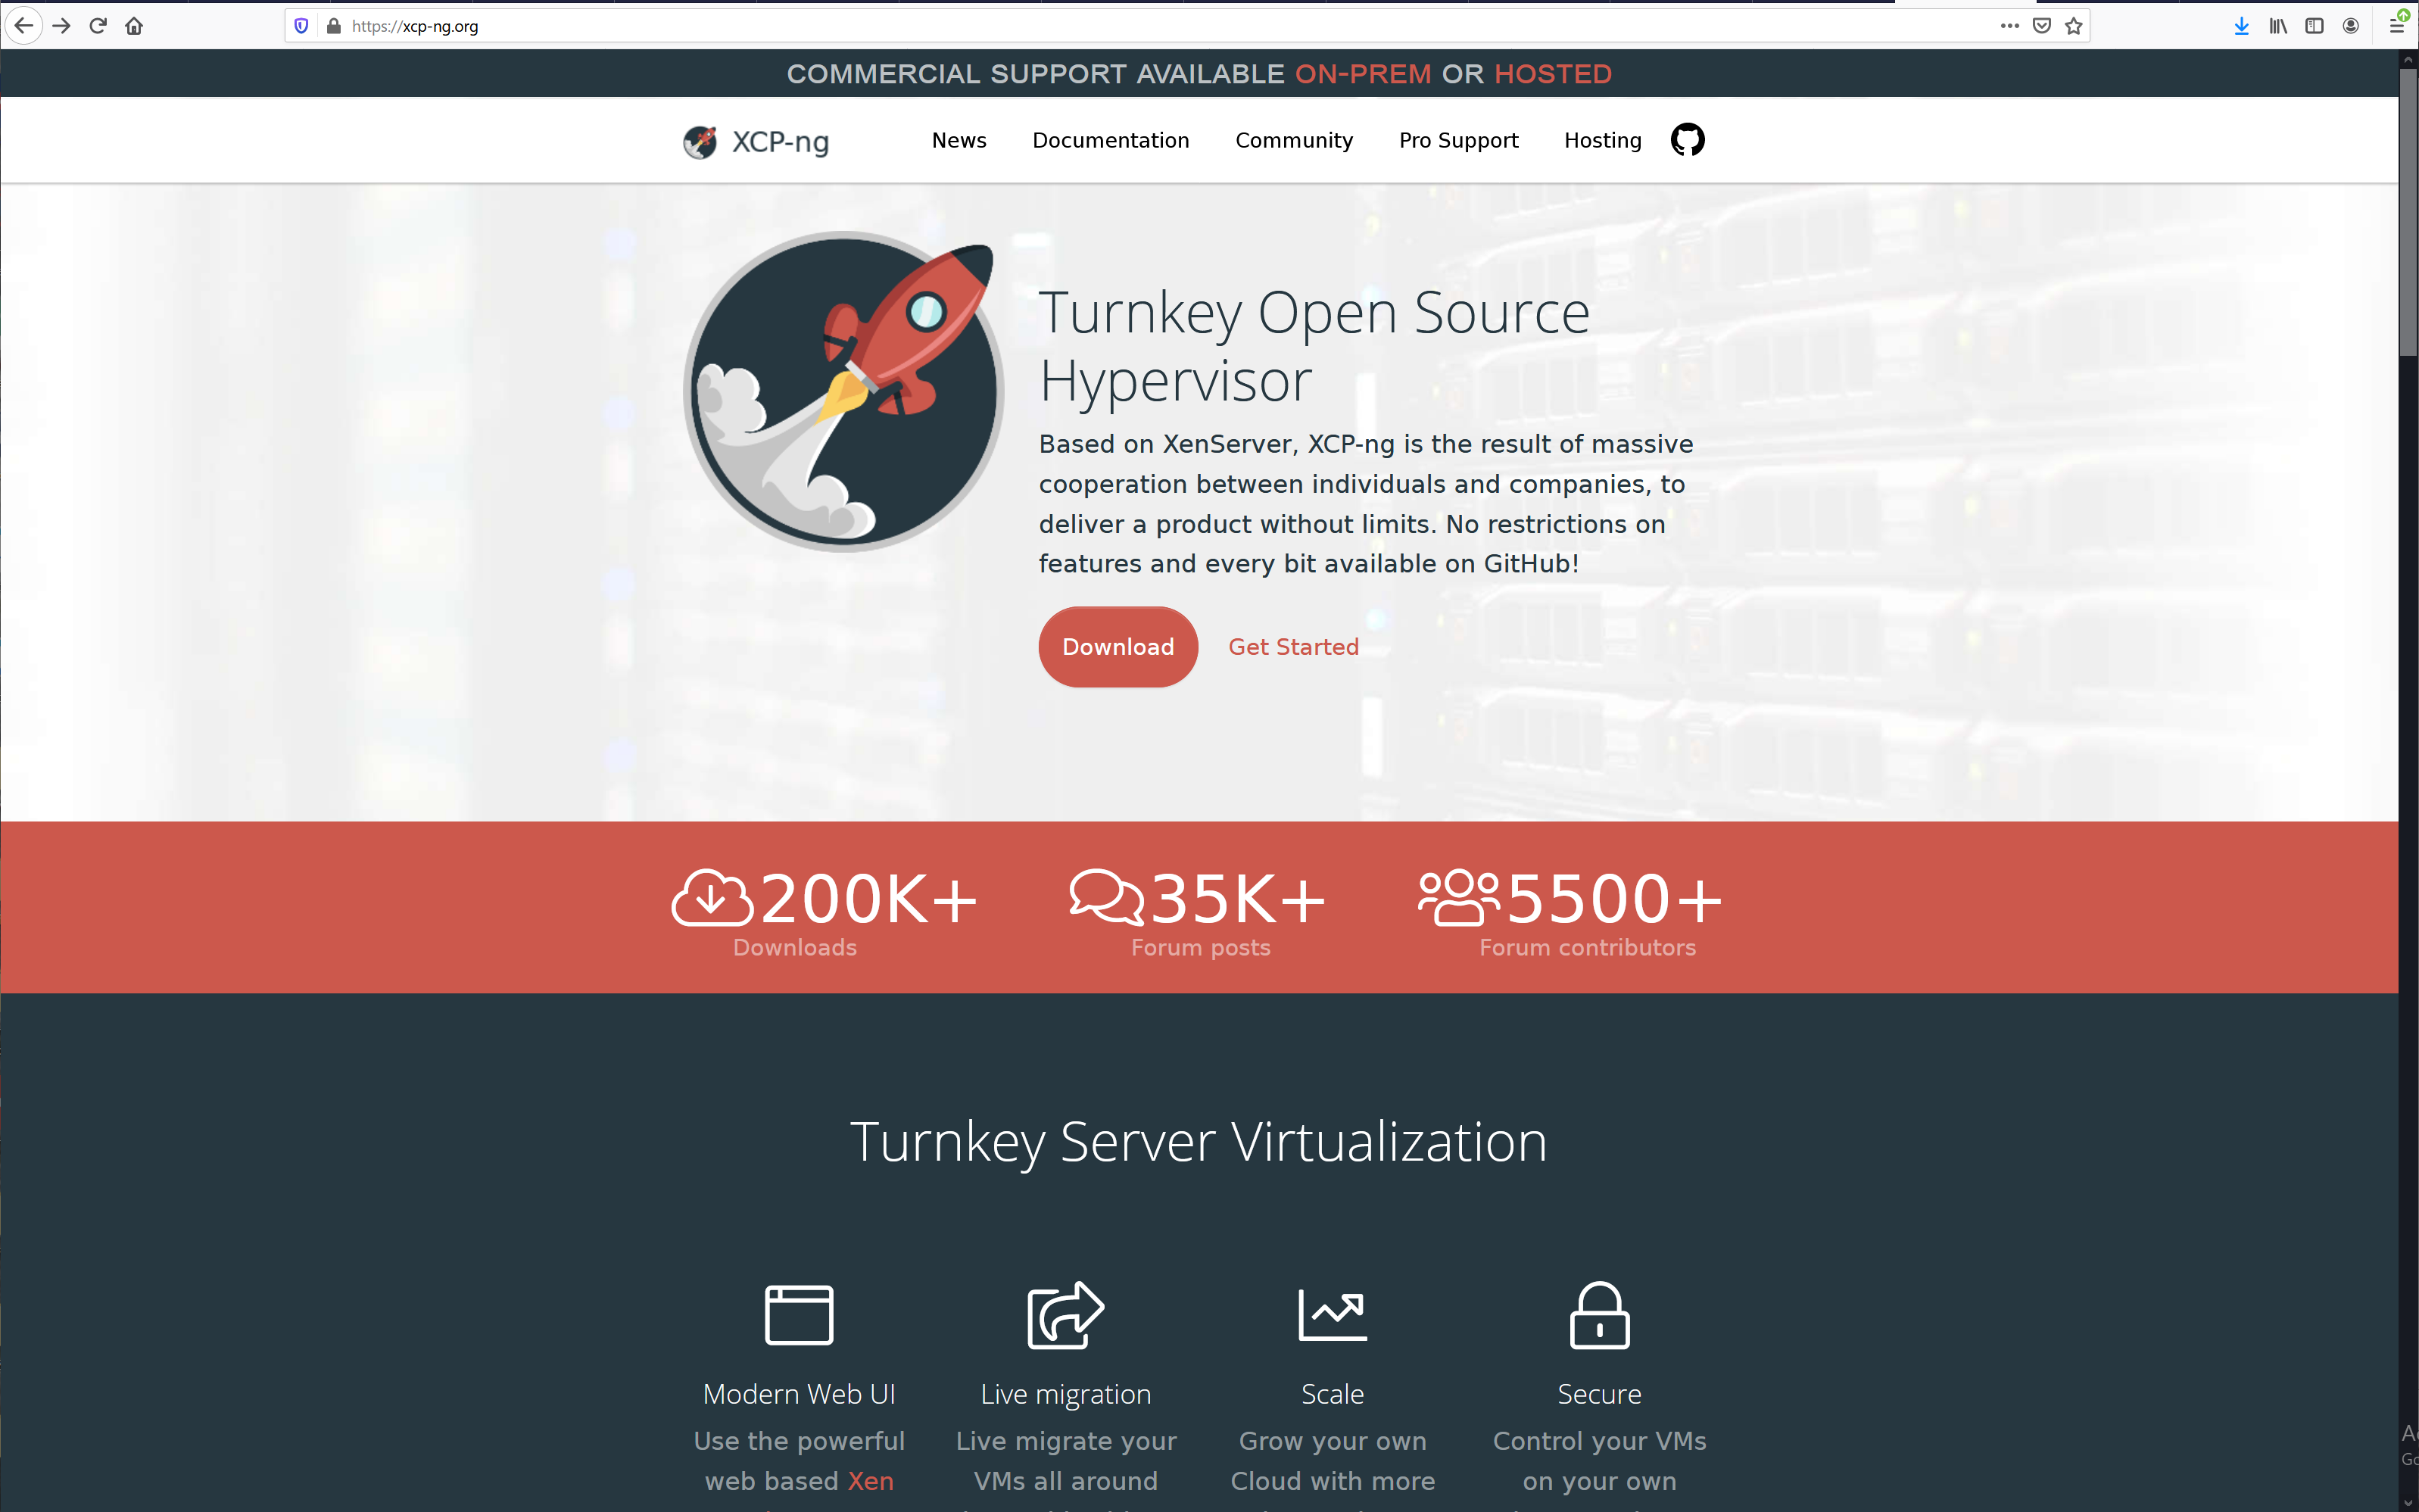
XCP-ng is an open source Hypervisor based on Xen Server. The home page can be found at https://xcp-ng.org. The XCP-ng project includes the Xen Orchestra Web Interface for XenServer. XCP-ng has been successfully installed on the Vault with both Legacy and coreboot BIOS. The instructions below describe how to install XCP-ng on the Vault and manage it with Xen Orchestra.
Install XCP-ng
Obtain the Installation Image and Uncompress it
The installation image can be obtained from the homepage mentioned above by selecting the "Download" button or browse directly to https://xcp-ng.org/#easy-to-install
Select the "ISO" string to download the IOS image and save it to your PC.
Intel i225/i226/x710-BM2 NIC (2.5G/10G) Support
If you are using a version older than 8.2.1, the 2.5GbE or 10GbE NICs found in the VP2420, VP4600, or VP6600 series will not work. The newest release (at the time of editing this article) is 8.2.1, which does work with these multi-gig NICs.
V1210 Notes: XCP-ng installs and works, but the limitation of 4GB of RAM makes it difficult to run VMs.
Burn the installation image to a USB drive
The easiest way to transfer the installation image to a USB drive is by using software called "Rufus" on Windows or "balenaEtcher" on Mac OSX. See this link for detailed instructions on how to create a bootable USB drive using Rufus or balenaEtcher.
Install XCP-ng on the Vault
There are excellent instructions including screen shots for IOS installation at: https://xcp-ng.org/docs/install.html#iso-installation We recommend following those instructions during installation.
- Insert the USB installation drive into a USB port on the Vault
- Connect the WAN port to the Internet
- While powering up the Vault, press "F11" key and verify that it boots to the BIOS boot options screen
- Select the USB drive UEFI partition to boot from if UEFI was configured, else just select the USB drive
- Verify the Vault boots and begins the installation process
- Follow the on screen installation prompts to install XCP-ng
- When prompted for "Network", verify eth0 is connected to the network and select it
- When prompted to "Install XCP-ng" confirm and verify the installation starts
- Complete the installation and verify the "Installation Complete" message is displayed
- Follow the on screen instructions to remove the USB and reboot the Vault
- Verify the Vault boots up and the menu is displayed on the console
At this point XCP-ng has been successfully installed on the Vault.
Xen Orchestra
Xen Orchestra is the Web Interface for XenServer. If desired, Xen Orchestra can be used to manage one or more XCP-ng devices. The Xen Orchestra home page can be found at: https://xen-orchestra.com
In order to use Xen Orchestra to manage the Vault that just had XCP-ng installed, follow the instructions below.
- Verify the IP address of the unit from the installation console.
- Browse to the IP address
- Verify the Welcome page is displayed
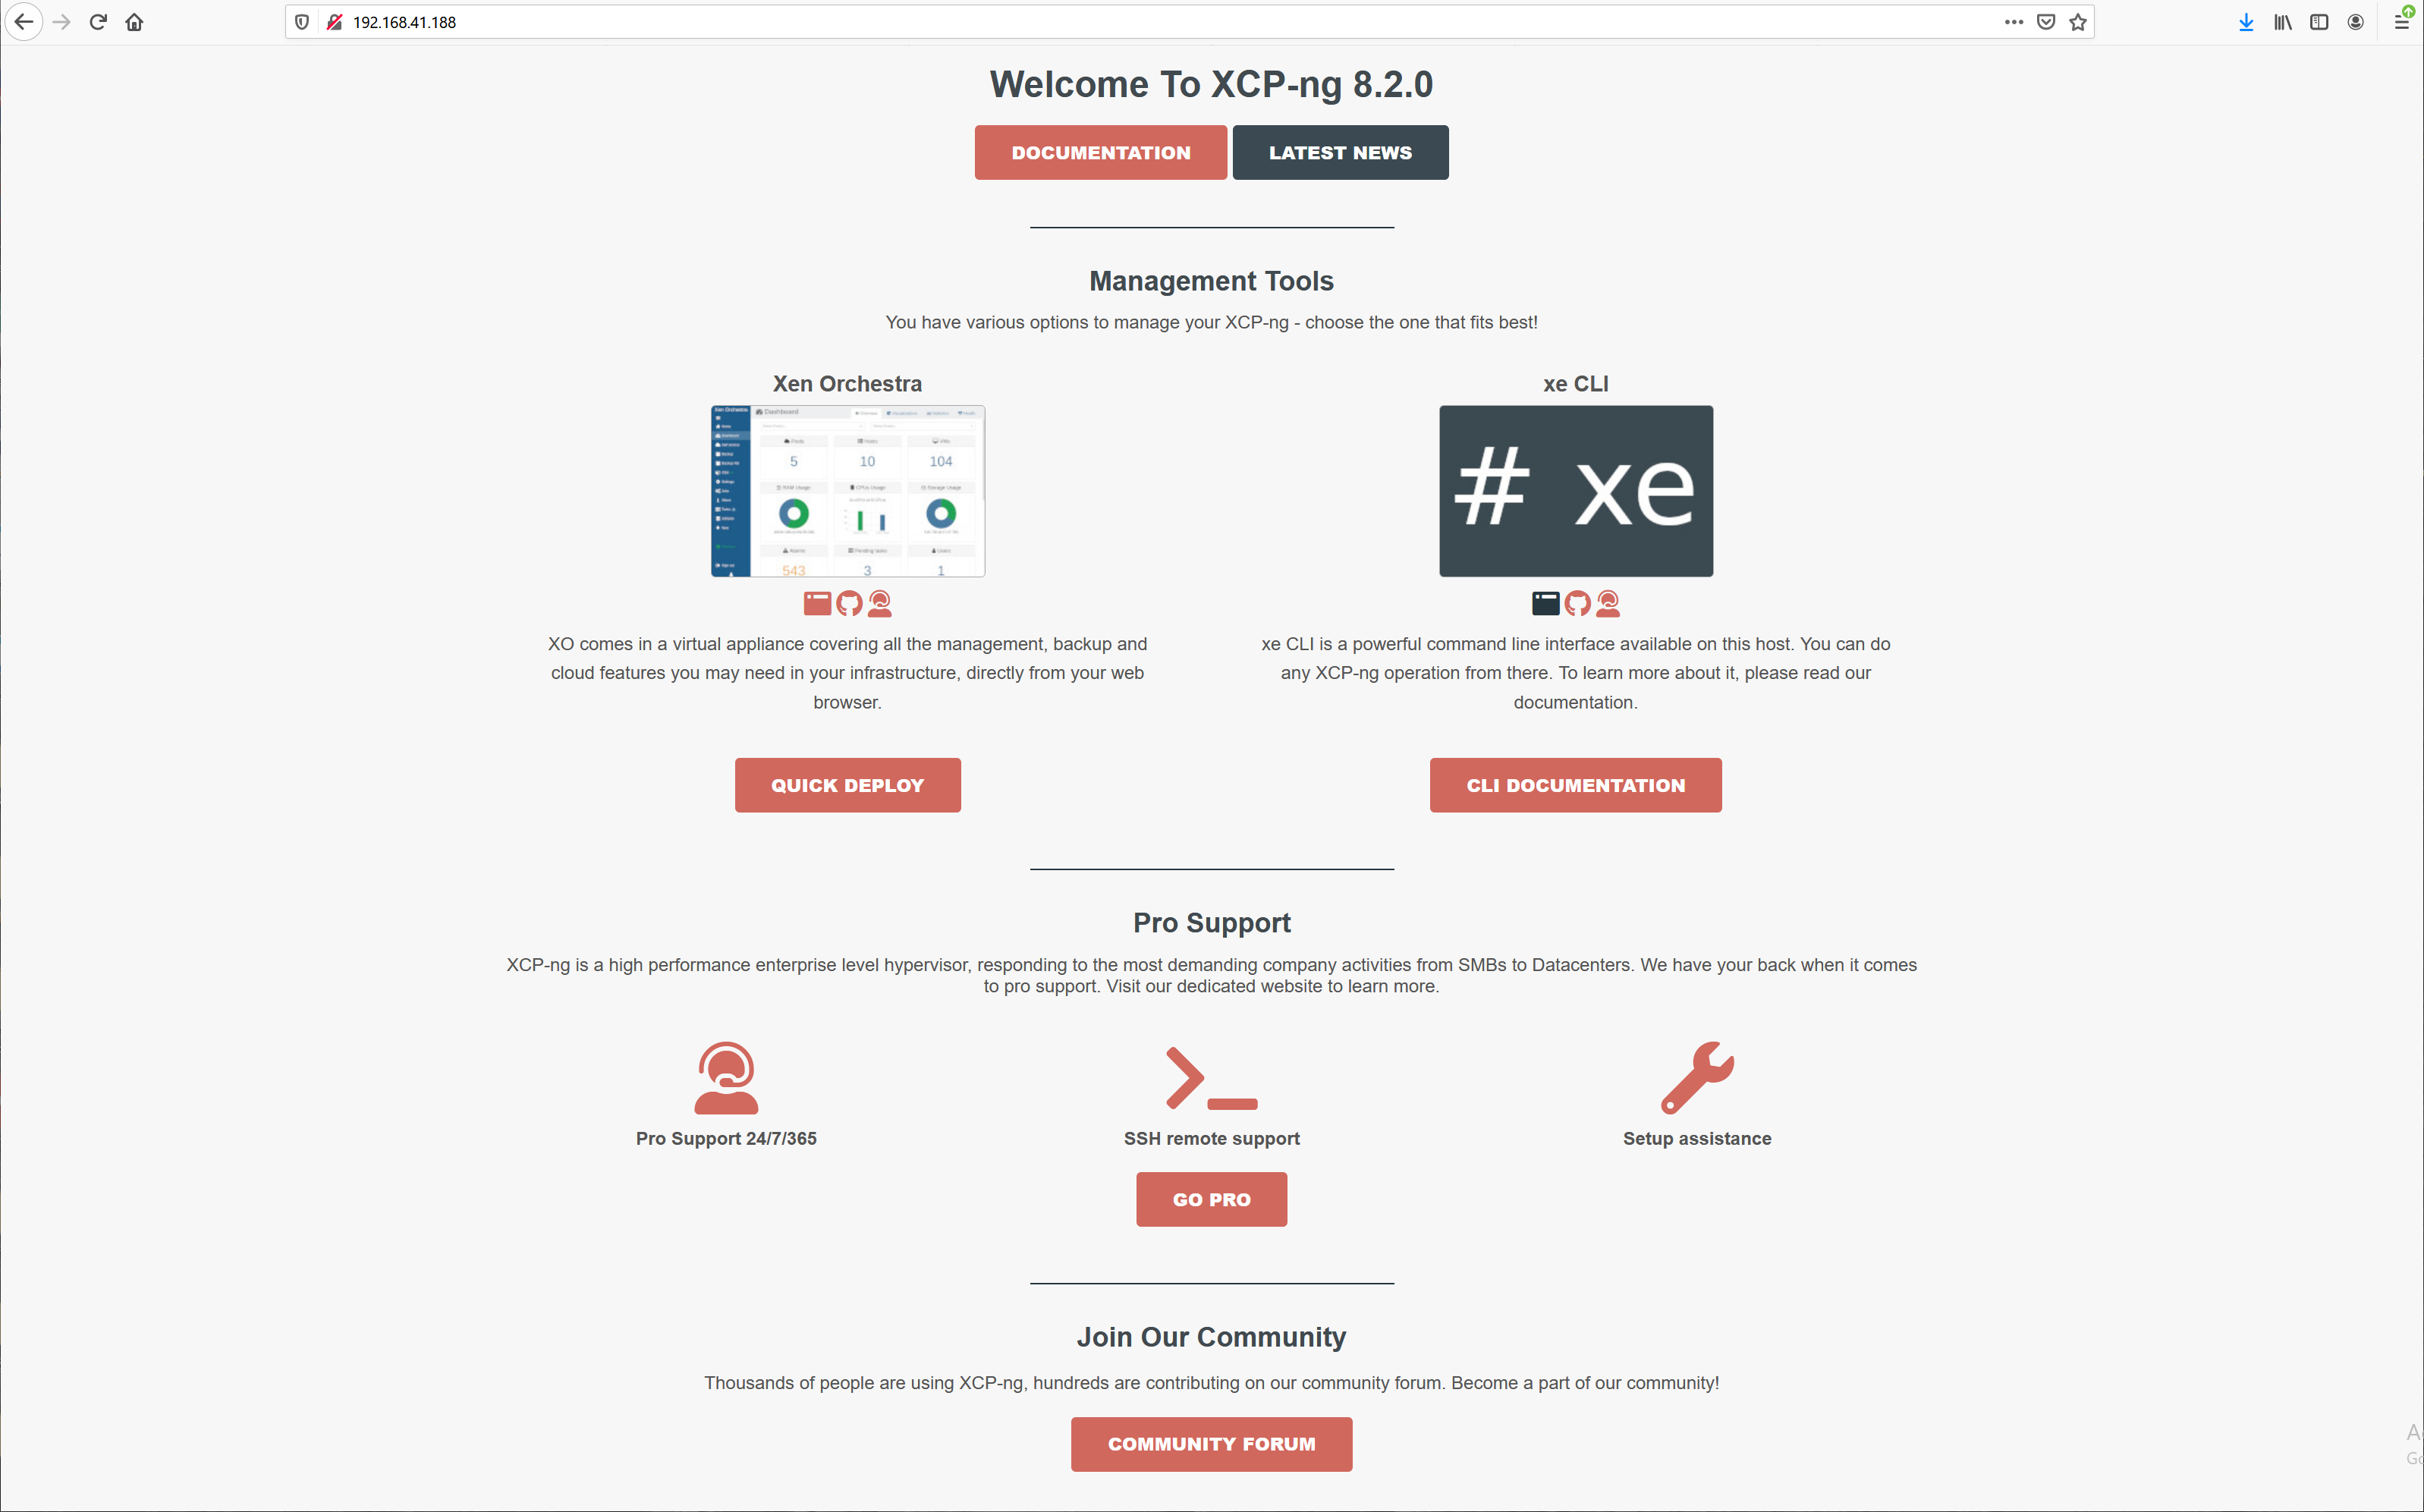
- Select the Xen Orchestra "Quick Deploy" button
- Login using the root password that was configured during installation
- When prompted for an account, follow the instructions
- For this example, we did not set up an account, but for "user/password" we used the default "admin@admin.net"/"admin"
- Login to Xen Orchestra and verify the home page is displayed
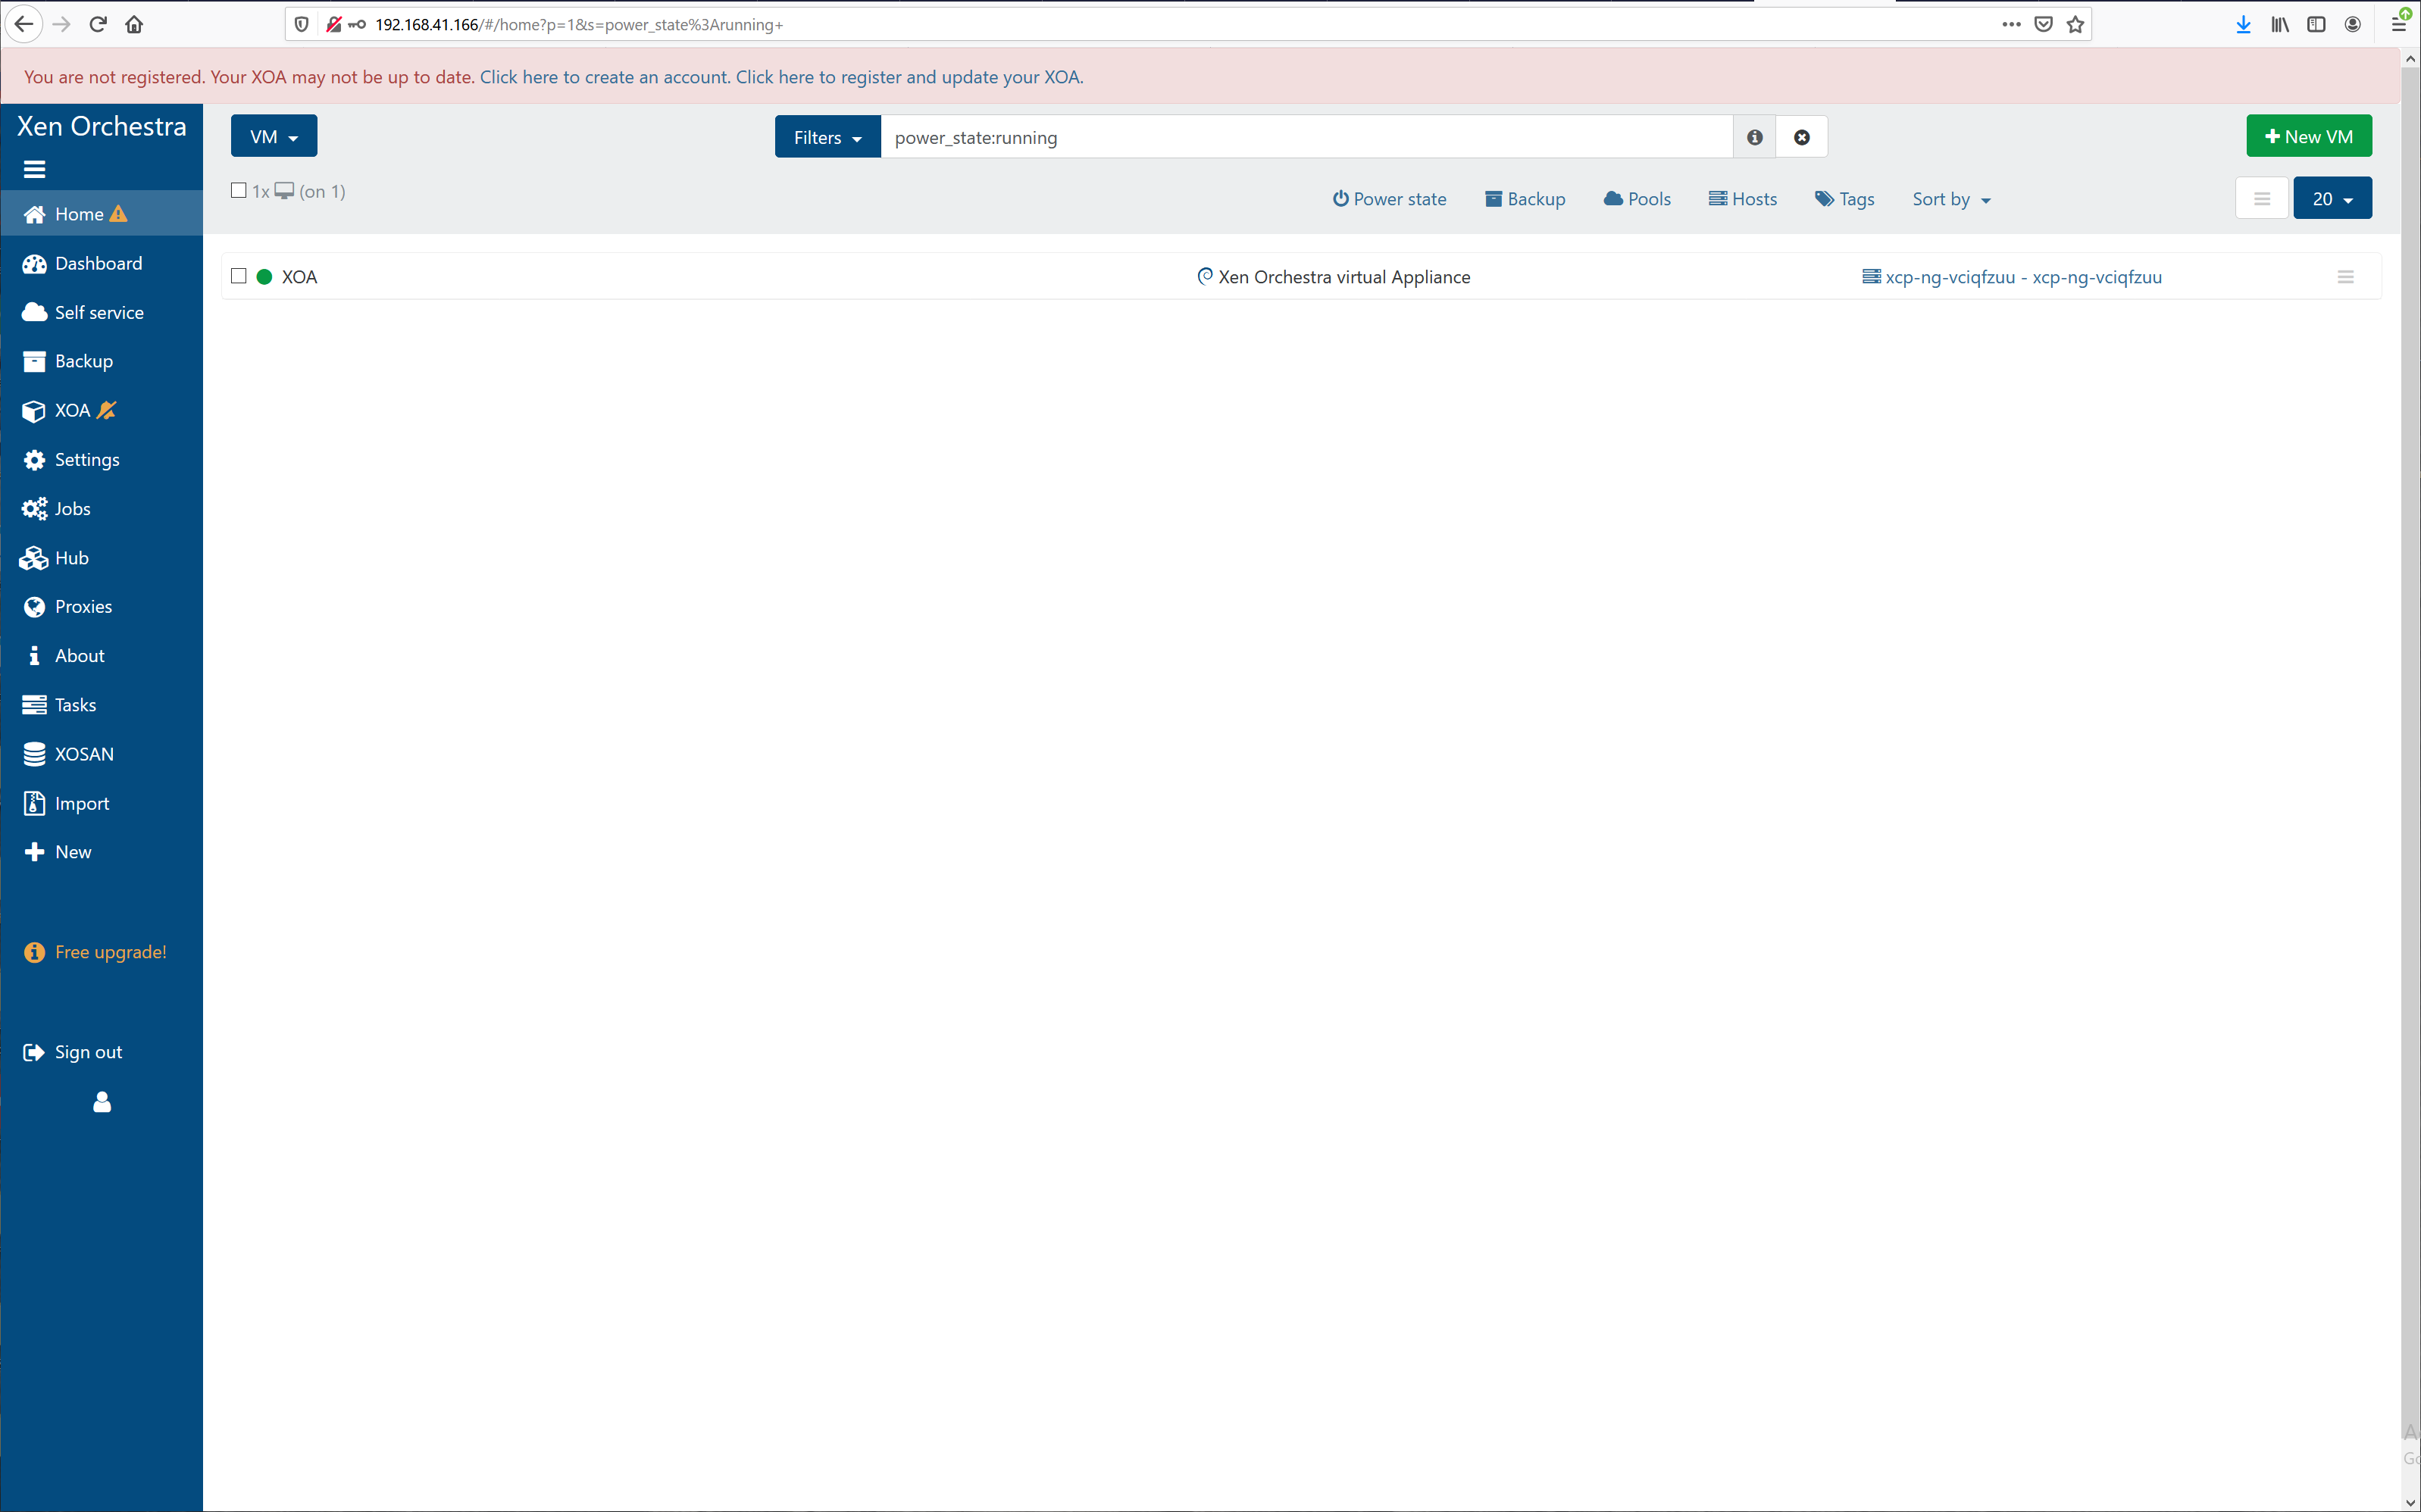
- Select a device and select "Dashboard"
- Verify the selected device is displayed
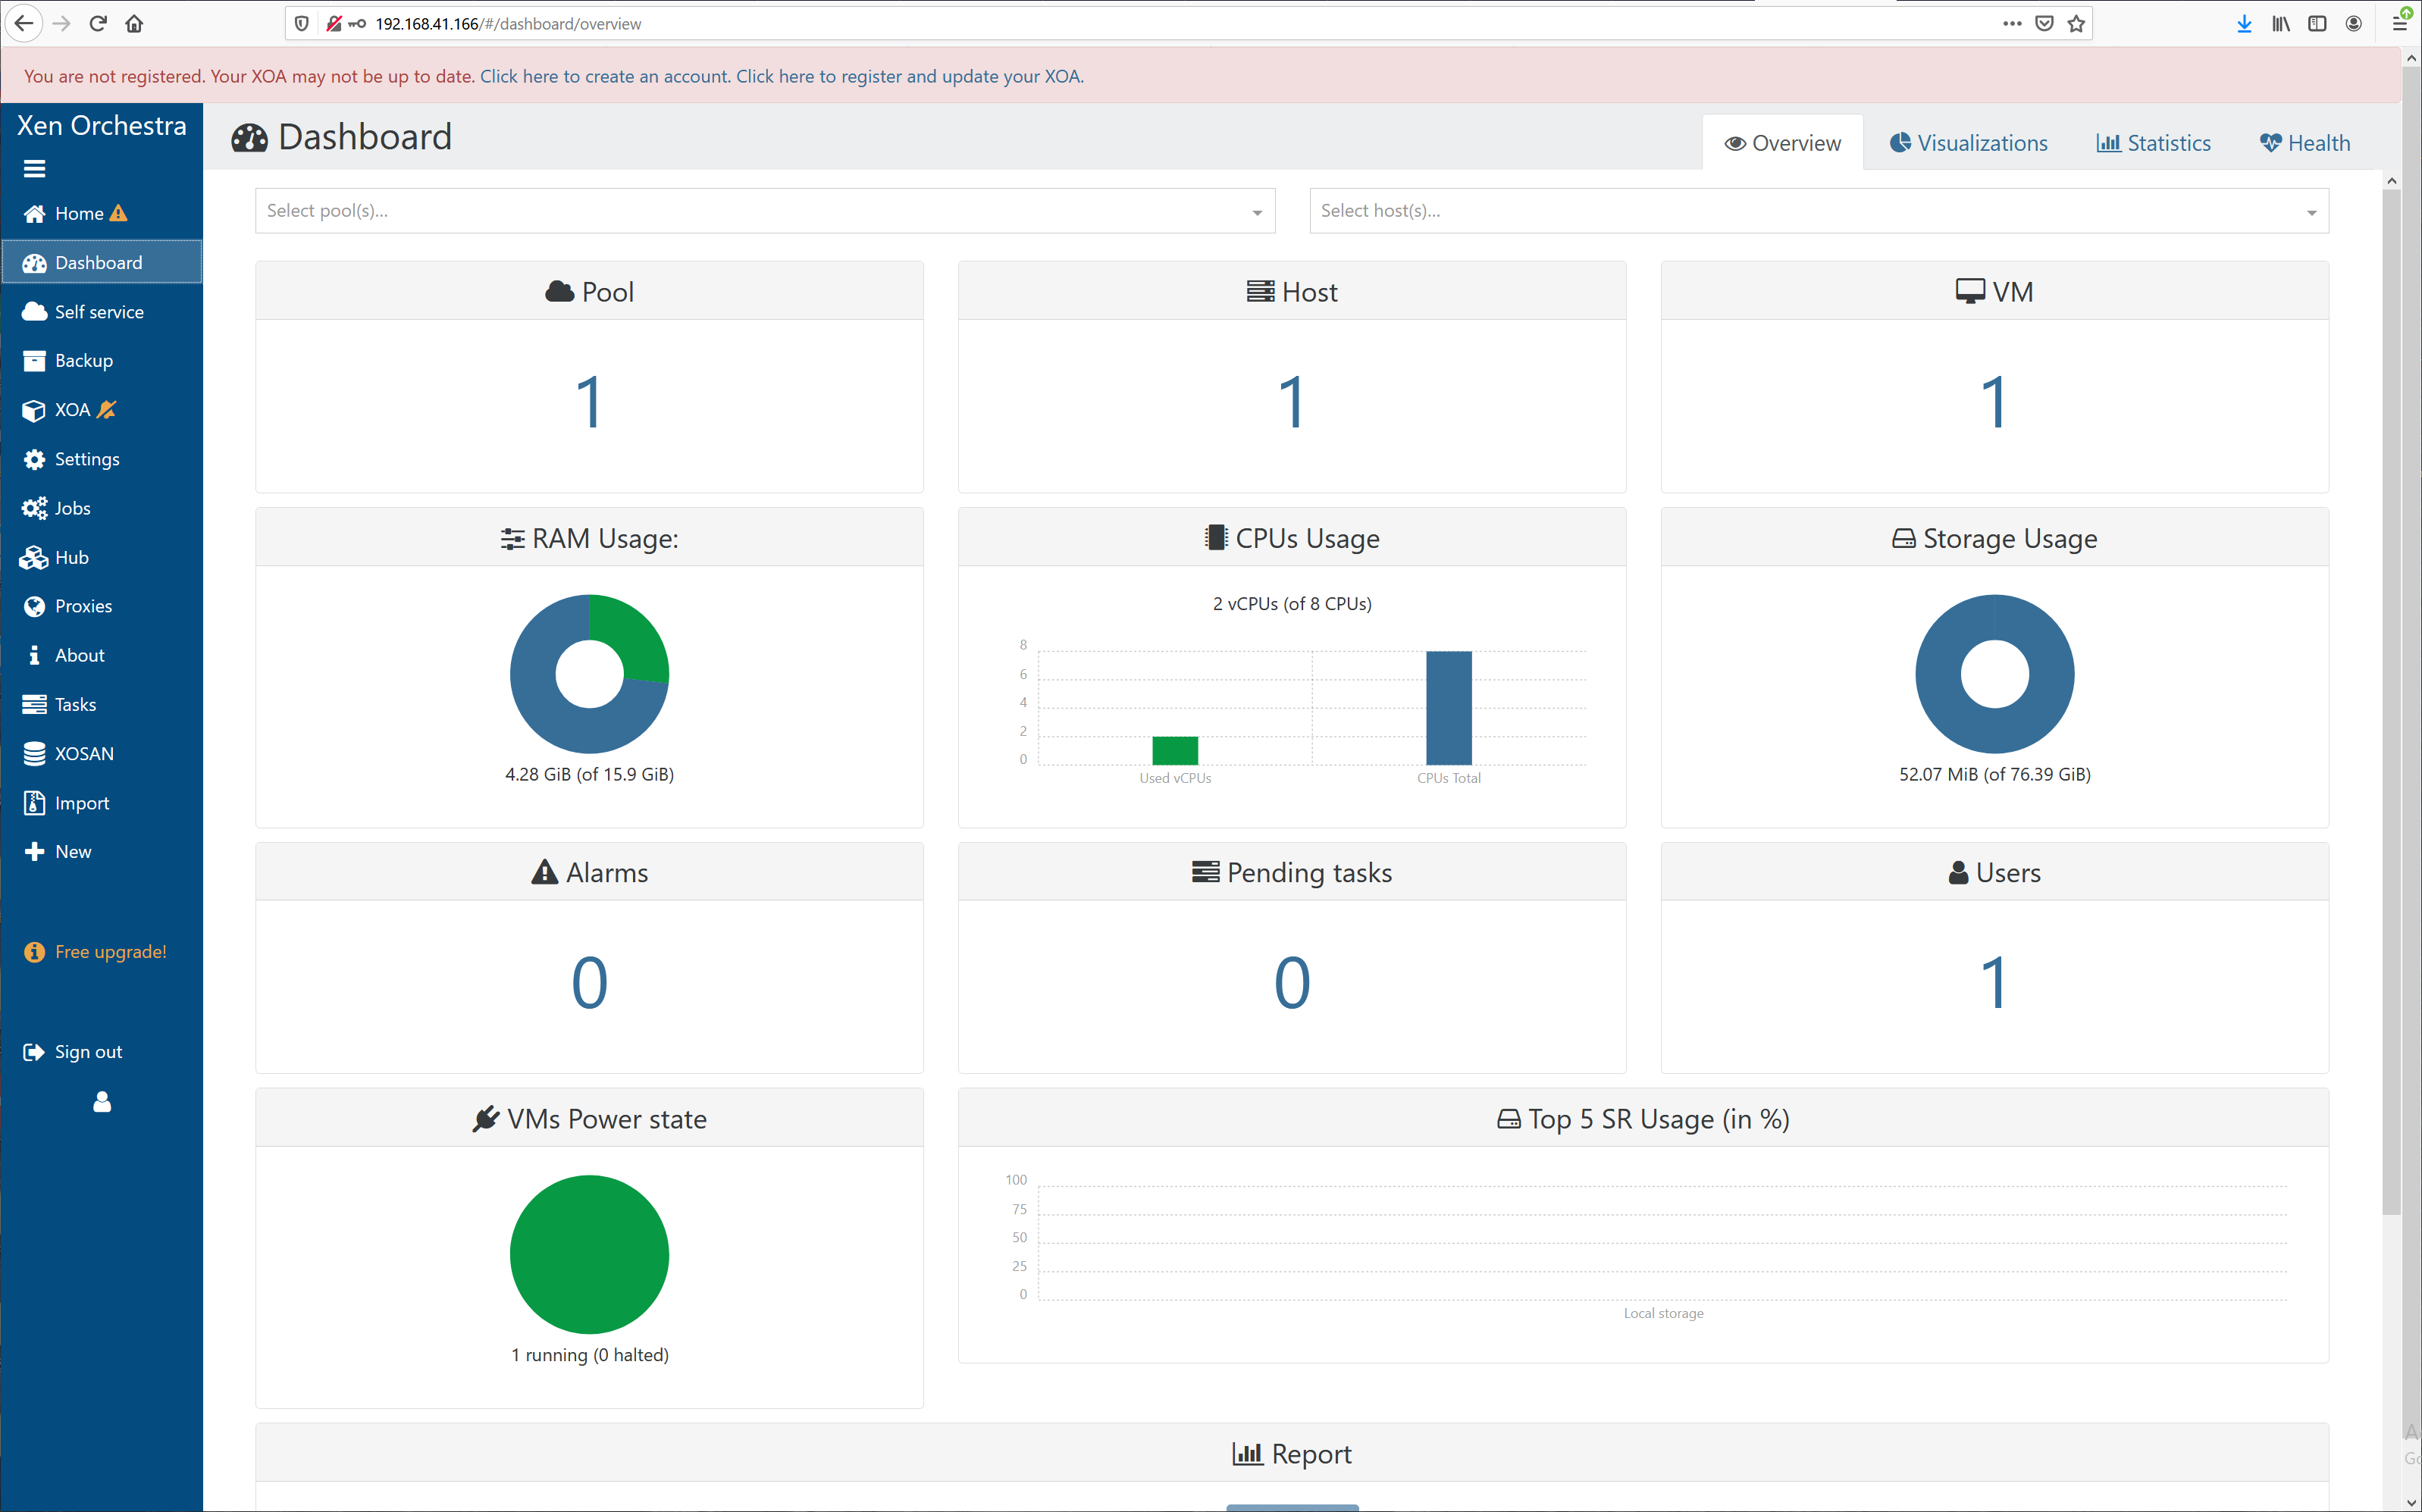
At this point XCP-ng has been successfully installed on the Vault and Xen Orchestra can be used to manage the unit. There is extensive documentation available at https://xcp-ng.org/docs/ for configuration and management of XCP-ng.
For any hardware or installation issues, feel free to contact Protectli support at: support@protectli.com