Have a Question?
How to Install OPNsense on the Vault
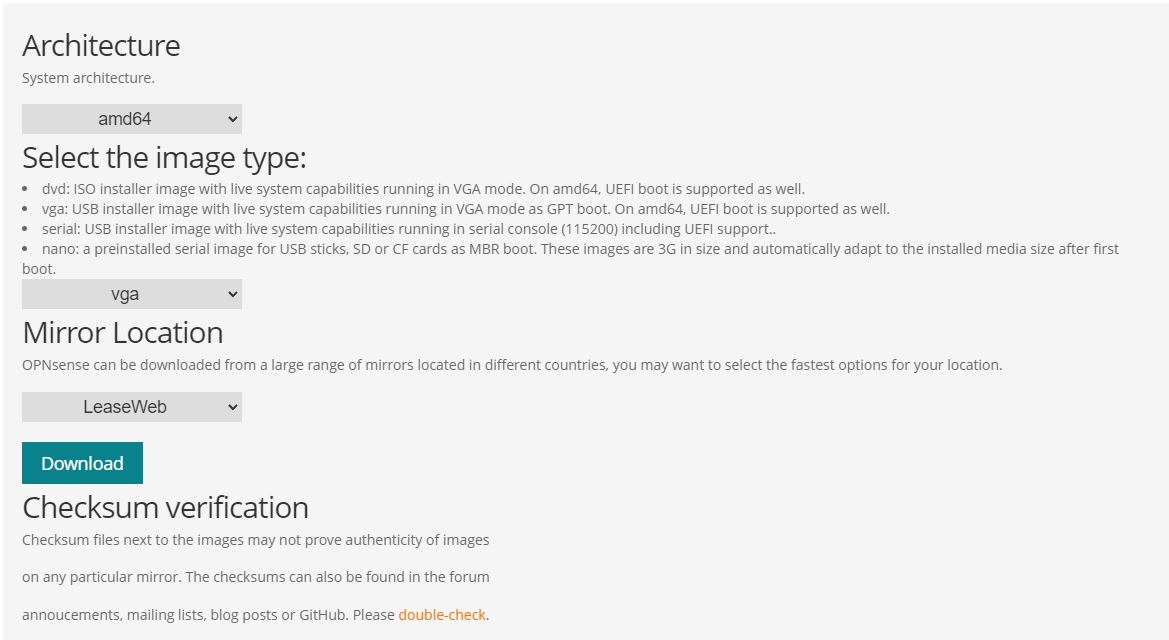
The OPNsense installation image can be downloaded from https://www.opnsense.org/download/. The same image can be used to install OPNsense on any of the Vault platforms. It is important to choose the correct options when downloading the image including “Architecture” and “Image Type". The proper selections are as follows and shown in the screenshot below.
Architecture: AMD64 (64 bit)
Note: The 32 bit version will not work. Be sure to download the 64 bit version.
Image Type: VGA or Serial as needed. Use VGA if you plan on installing OPNsense with a monitor and keyboard connected to the Vault. Use Serial if you are installing OPNsense while utilizing the serial COM connection (use our guide here on using the Serial/COM Connection). What you choose here depends on how you want to access the OPNsense console. This is NOT how you will manage your OPNsense installation on a daily basis, but rather the way that you will access OPNsense in the event that you cannot log into the web UI.
Click the Download button after making the correct choices.
Note regarding OPNsense version: We typically recommend installing the newest available version of OPNsense that is available. When a new version of OPNsense is released, it may take us some time to fully qualify the OS for preinstalls. We will only preinstall versions of OPNsense that are 100% guaranteed to work with all our products. There is very little likelihood of new versions not working, though.
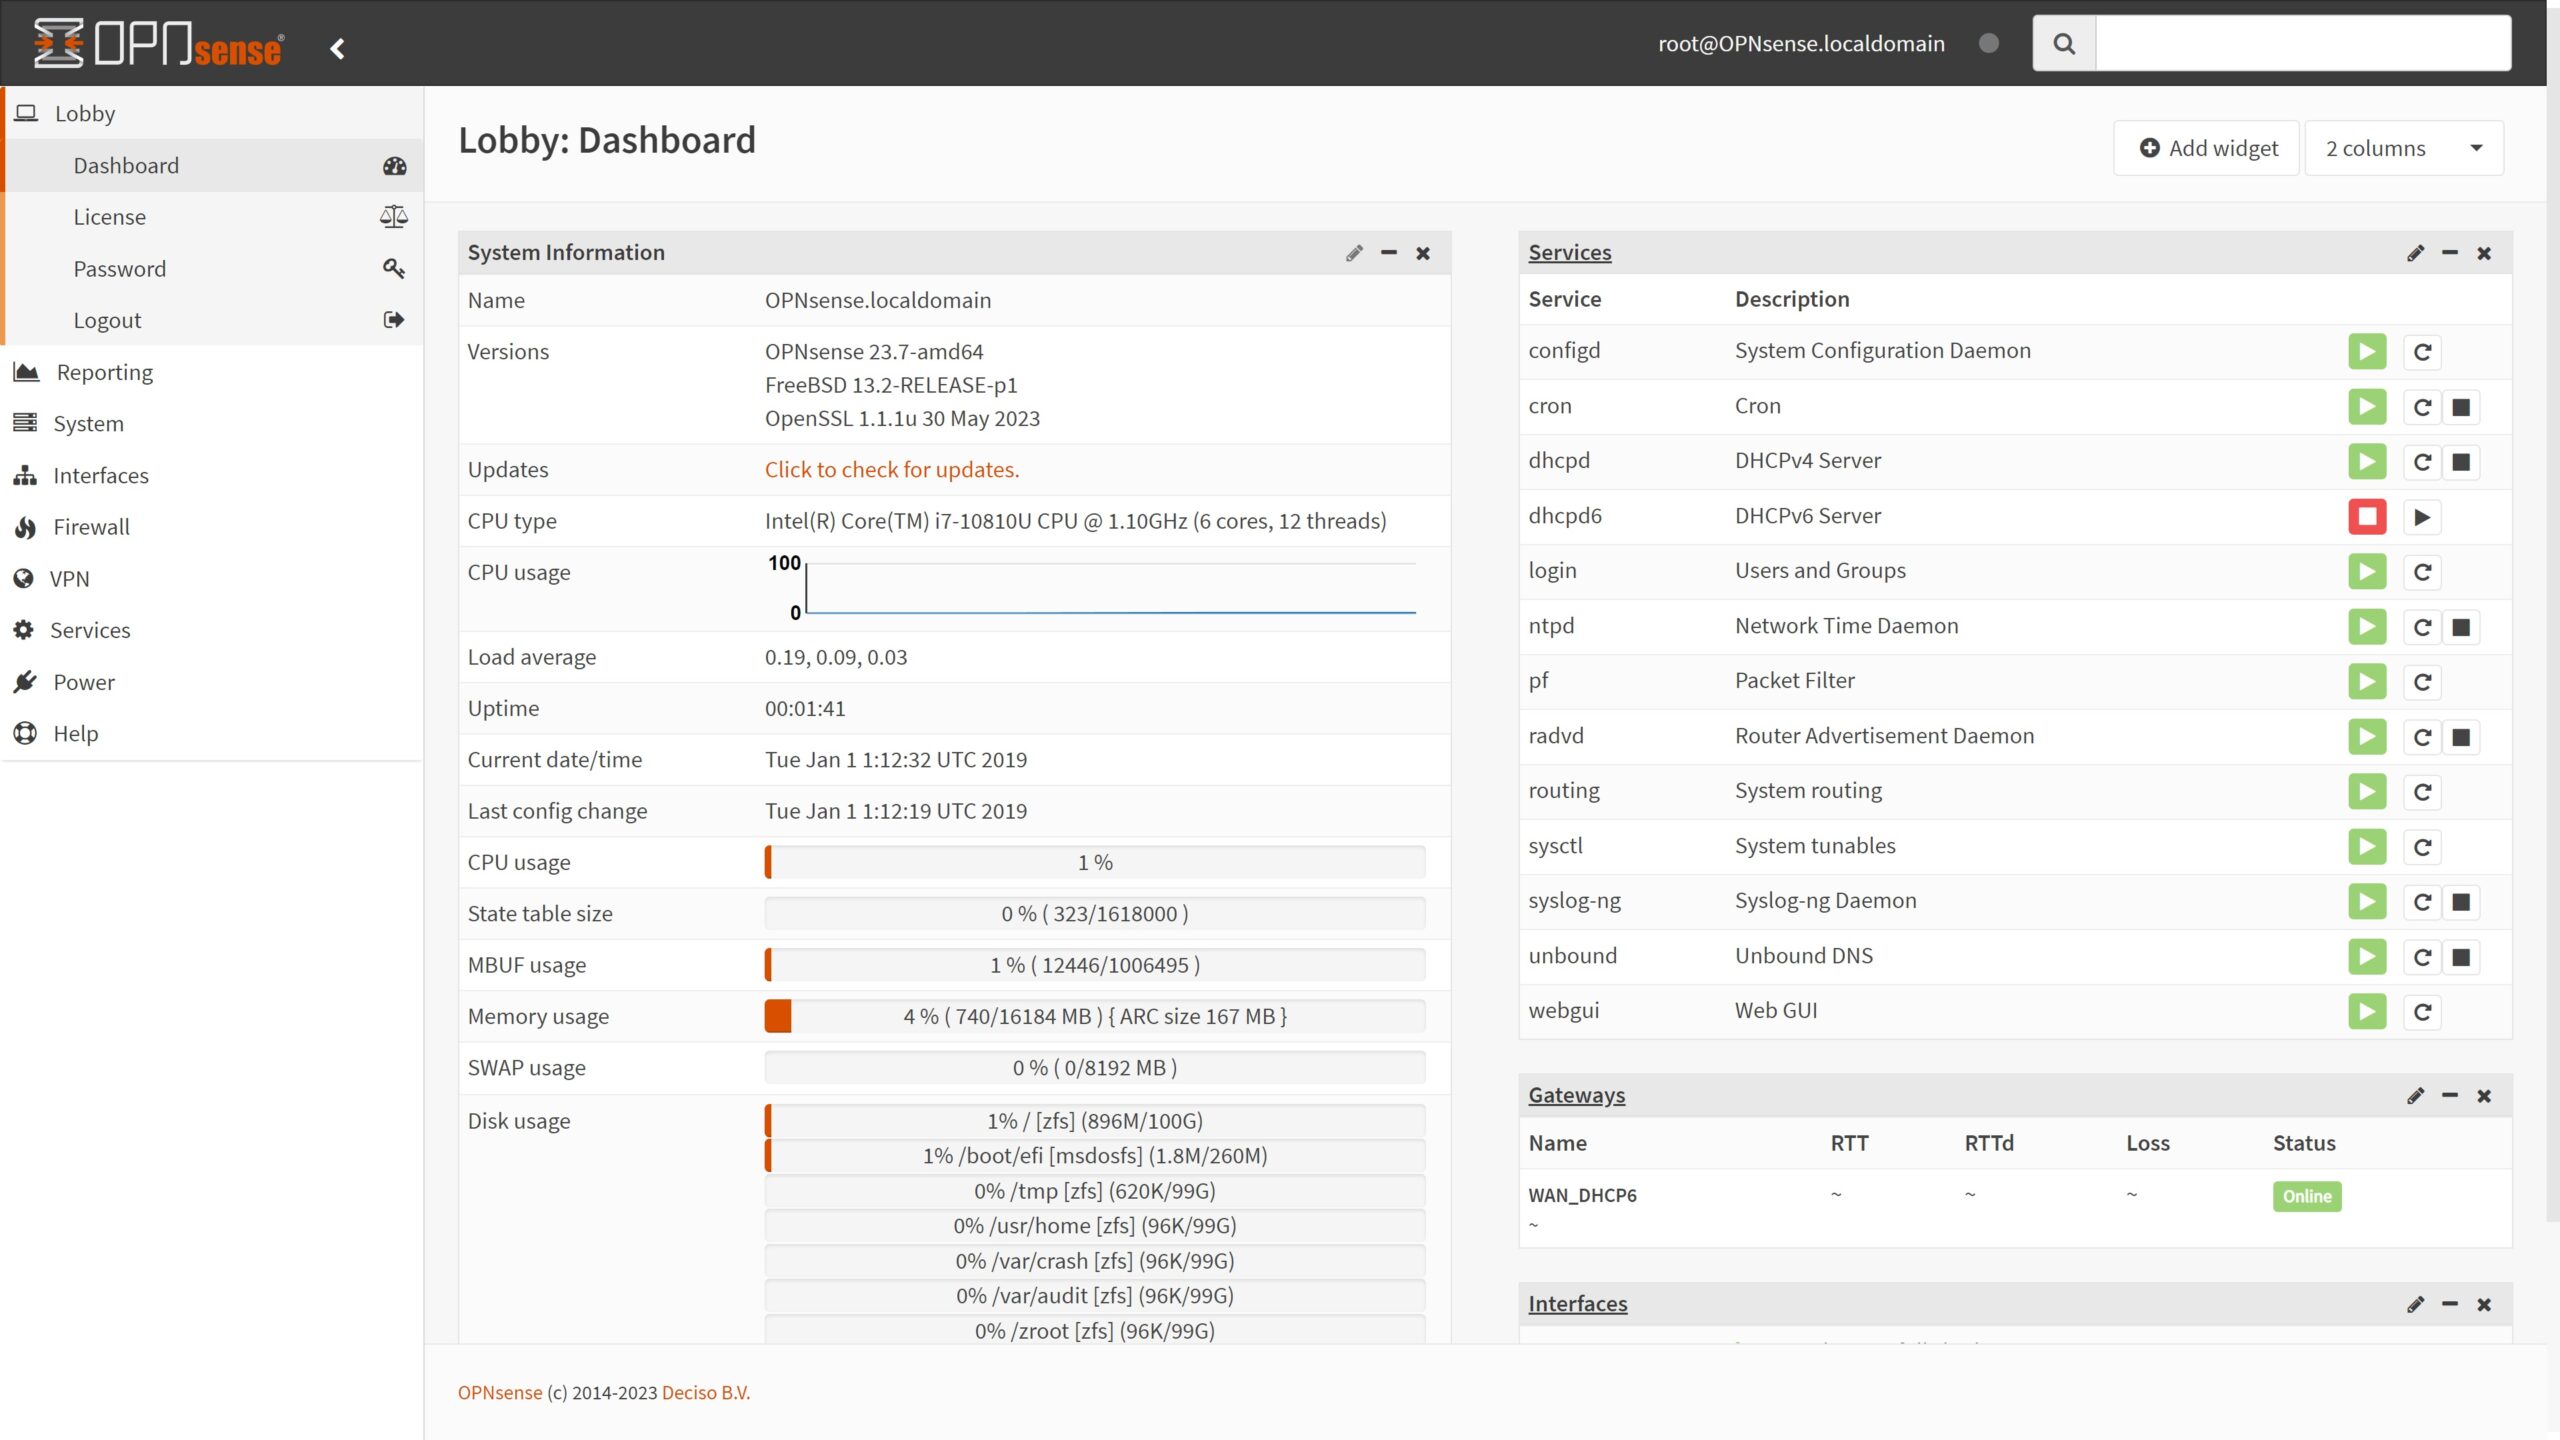
After the initial reboot:
- Connect a computer to the Vault's LAN port
- Browse to the OPNsense dashboard at 192.168.1.1 login with the default credentials.
- Username: root
- Password: opnsense
- If a warning regarding an insecure connection shows, simply ignore and continue (this is normal)
- Verify the dashboard is displayed